
This post may contain affiliate links. Read our disclosure policy here.
Making Uncrustables at home with this DIY method is super convenient because you can make them in bulk and keep a stash frozen for when you need them. Here, you’ll learn how to make them and my tips for sealing the edges well so the filling doesn’t ooze out.
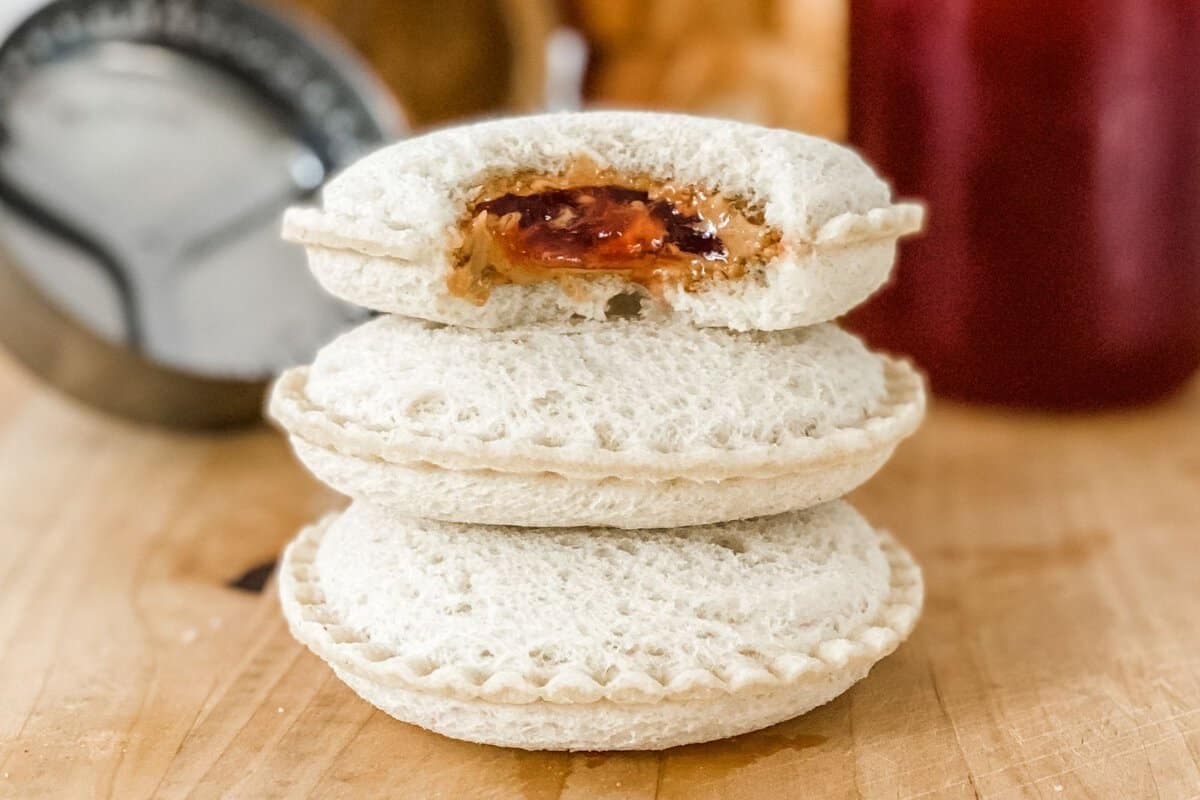
DIY Homemade Uncrustables
Store-bought Uncrustables are convenient, but making them at home is more affordable and lets you use your family’s favorite bread, peanut butter, and jam. My Uncrustable crimper quickly became one of our favorite inexpensive gadgets because I can make one or a whole batch in just a few minutes, freeze them for later, and pull one out whenever I need an easy lunch. At home, my kids love popping one into the air fryer too! The outside gets lightly toasted while the filling stays warm and gooey. These will be a hit at your house too.

How to Make Uncrustables
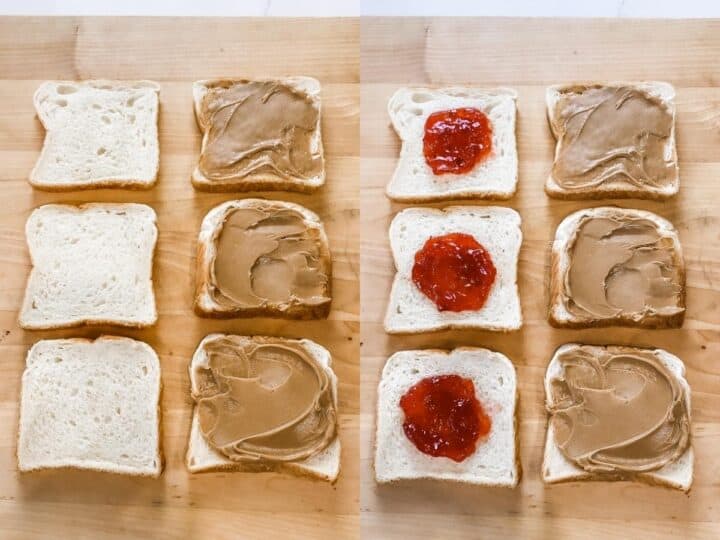
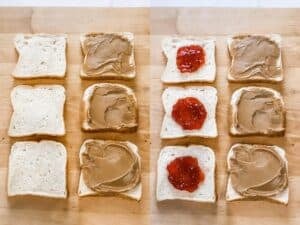
- Make a PB&J
Keep most of the filling in the middle when you make the classic sandwich.
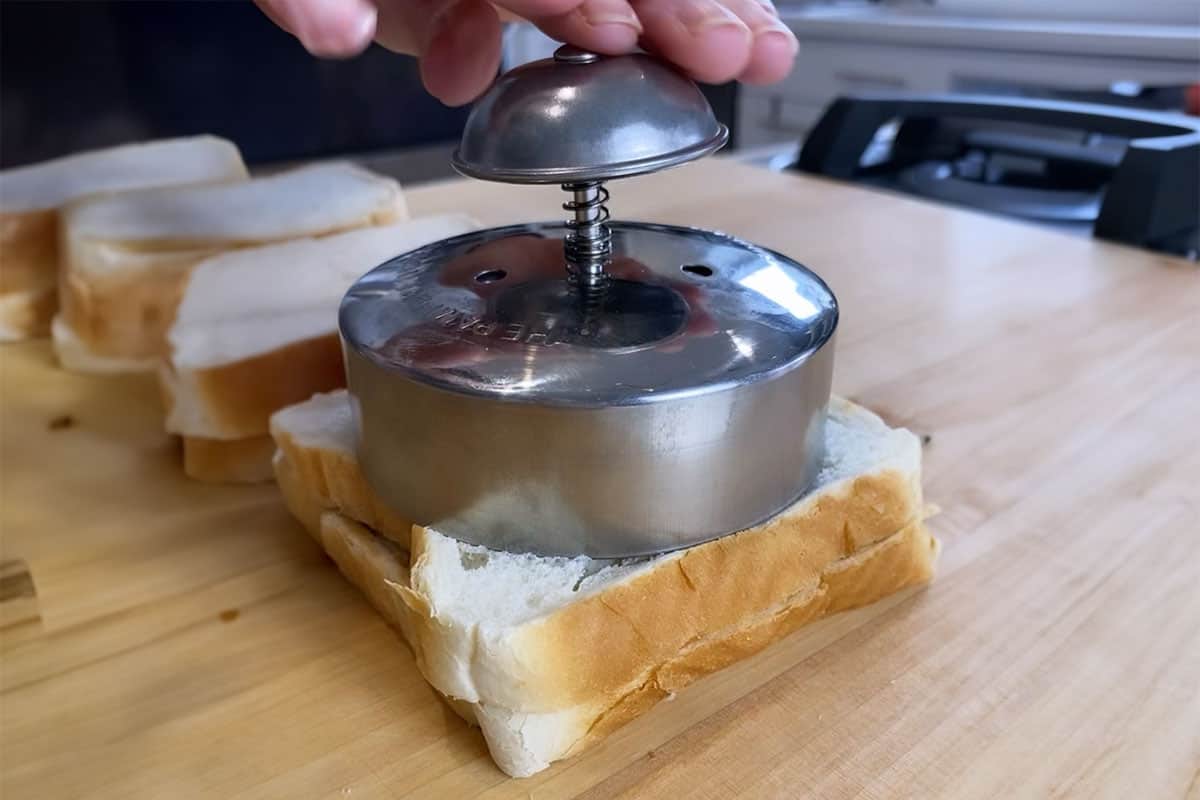
- Seal and remove the crust
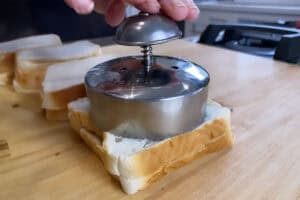
Push down from the sides, like using a cookie cutter, and once you’ve cut through the bread, press the middle sealer down and hold it in place for 15 to 30 seconds to seal the edges. Cutting it first, then sealing, ensures a tight crimp and helps prevent the filling from leaking. Holding it down will seal it tightly and prevent the filling from leaking. After that, pull the crusts away from the sealer.
- Store, Pack for School, or Freeze
Refrigerate them for up to 1 week, pack one or two inside a lunch box along with healthy lunch sides, or freeze them.
Stop Wondering What to Pack.
Pack lunches your kids will actually eat with 101 lunch ideas, practical packing tips, a complete Thermos Lunch Guide, and my Pack Meals Like a Pro bonus.
How to Freeze Homemade Uncrustables
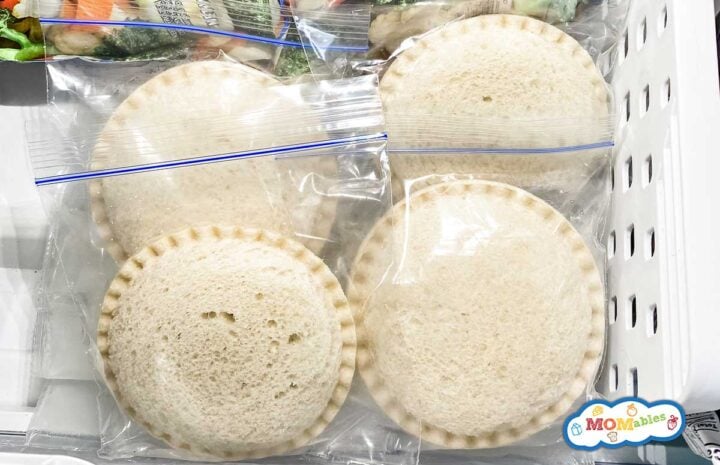
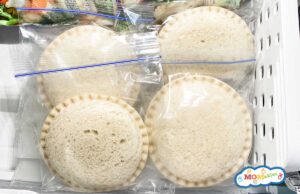
Make a big batch and freeze them inside individual zip bags for quick grab-and-go lunches. Or, freeze them flat on a baking sheet, and once frozen, transfer them to a gallon zip bag. While they can last frozen for 3 months, I find that after a month, the bread starts to feel a little dry and freezer burn begins to show.
Laura’s School Lunch Packing Tips
A sandwich crimper makes the job faster, seals your homemade Uncrustables much tighter, and gives them that classic sealed edge. You can use a large round cookie cutter to cut them, use a glass to seal them tight, and press the edges together with a fork.
Soft sandwich bread seals the easiest. Fresh bread is less likely to crack around the edges, giving you a better seal that keeps the filling inside.
Absolutely! Make sure to check out my gluten-free uncrustables recipe to see the results of making them with the most popular gluten-free breads.
Absolutely! Try almond butter, a nut-free peanut butter alternative, cookie butter, cream cheese and jam, or your family’s favorite nut or seed butter with fruit preserves. Just avoid overfilling the sandwich so the edges seal completely.
Easy Homemade Uncrustables (Freezeable!)
Watch How It’s Made:
Ingredients
- 8 slices sandwich bread, your favorite
- ¼ cup peanut butter, smooth or chunky
- ¼ cup jelly or preserves, your favorite
Instructions
Make the sandwiches:
- Spread the peanut butter on half of the bread slices, keeping most of it in the center, especially the jelly. Make as many as needed.
Seal & remove the crusts:
- Push down from the sides, like using a cookie cutter, and once you've cut through the bread, press the middle sealer down and hold it in place for 15 to 30 seconds to seal the edges. Cutting it first, then sealing, ensures a tight crimp and helps prevent the filling from leaking. Holding it down will seal it tightly and prevent the filling from leaking. After that, pull the crusts away from the sealer.
Freeze for later:
- If making a lot, place them on a parchment-lined baking sheet and freeze. Once frozen, transfer them into a large zip bag and keep them frozen. Or, place each uncrustable inside a sandwich size zip bag and freeze individually.
Pack for lunch:
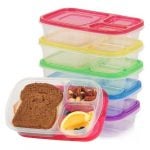
- Pack the frozen uncrustable inside the main compartment of a lunch box. Add any sides, like fruit and veggies, in separate compartments or containers. If the uncrustable is inside a zip bag, just add it directly inside the lunch bag.

Jenn says
These are FANTASTIC for kids!! So convenient to pack and make!
christie says
So good
Krissy K. says
Thank you! Can’t wait to make these with almond butter and jelly.
Sara McSweeney says
No one is talking about additives! (Quite frankly, I only read about 10-15 reviews, but I am surprised). My kid is not autistic, but which I have learned can be greatly helped by eliminating additives from his diet, but he is hyper- take out additives! I have a great app which scans bar codes and rates foods and why (it’s a yuka carrot)(I learned about it from another mom). Uncrustables from the store have extra chemicals we do not need and contain additives, so I thought maybe I can make them myself with good ingredients and not have chemicals added in? Lo and behold! Thank you!
(I’m not so naive to think I can keep my 7-year-old from having any chemicals [after his baseball game – Gatorade time! Bring on the neon blue drink!}, but at least I can limit them at our own house?)
Laura Fuentes says
You are correct that there are many additives in our children’s most favorite foods -Uncrustables included. I am glad you found this recipe and now can make them with your favorite ingredients and keep a stash on hand in the freezer for when you need them. -Laura
Sara Welch says
Made a batch of these for back to school lunches, and they do not disappoint! Quick, easy and delicious; definitely, a new favorite recipe!
Ben says
Nice. I fell in love with uncrustables when I was making lunches for my kids. These are fully awesome.
kushi says
This is awesome. Can’t wait to try this for my kids. Thanks for sharing.
DK says
Yes! I’ve been buying these like every week from costco, but now, thanks to your recipe, I can make them at home! They turned out just like the store bought ones – thanks!
TAYLER ROSS says
My kids loved these lunchables! And I loved how much cheaper it was to make them than buy them!
MacKenzie says
I am so excited about these! I spend way too much money on uncrustables. I just added all the ingredients to my cart. I can’t wait to get started on them