
This post may contain affiliate links. Read our disclosure policy here.
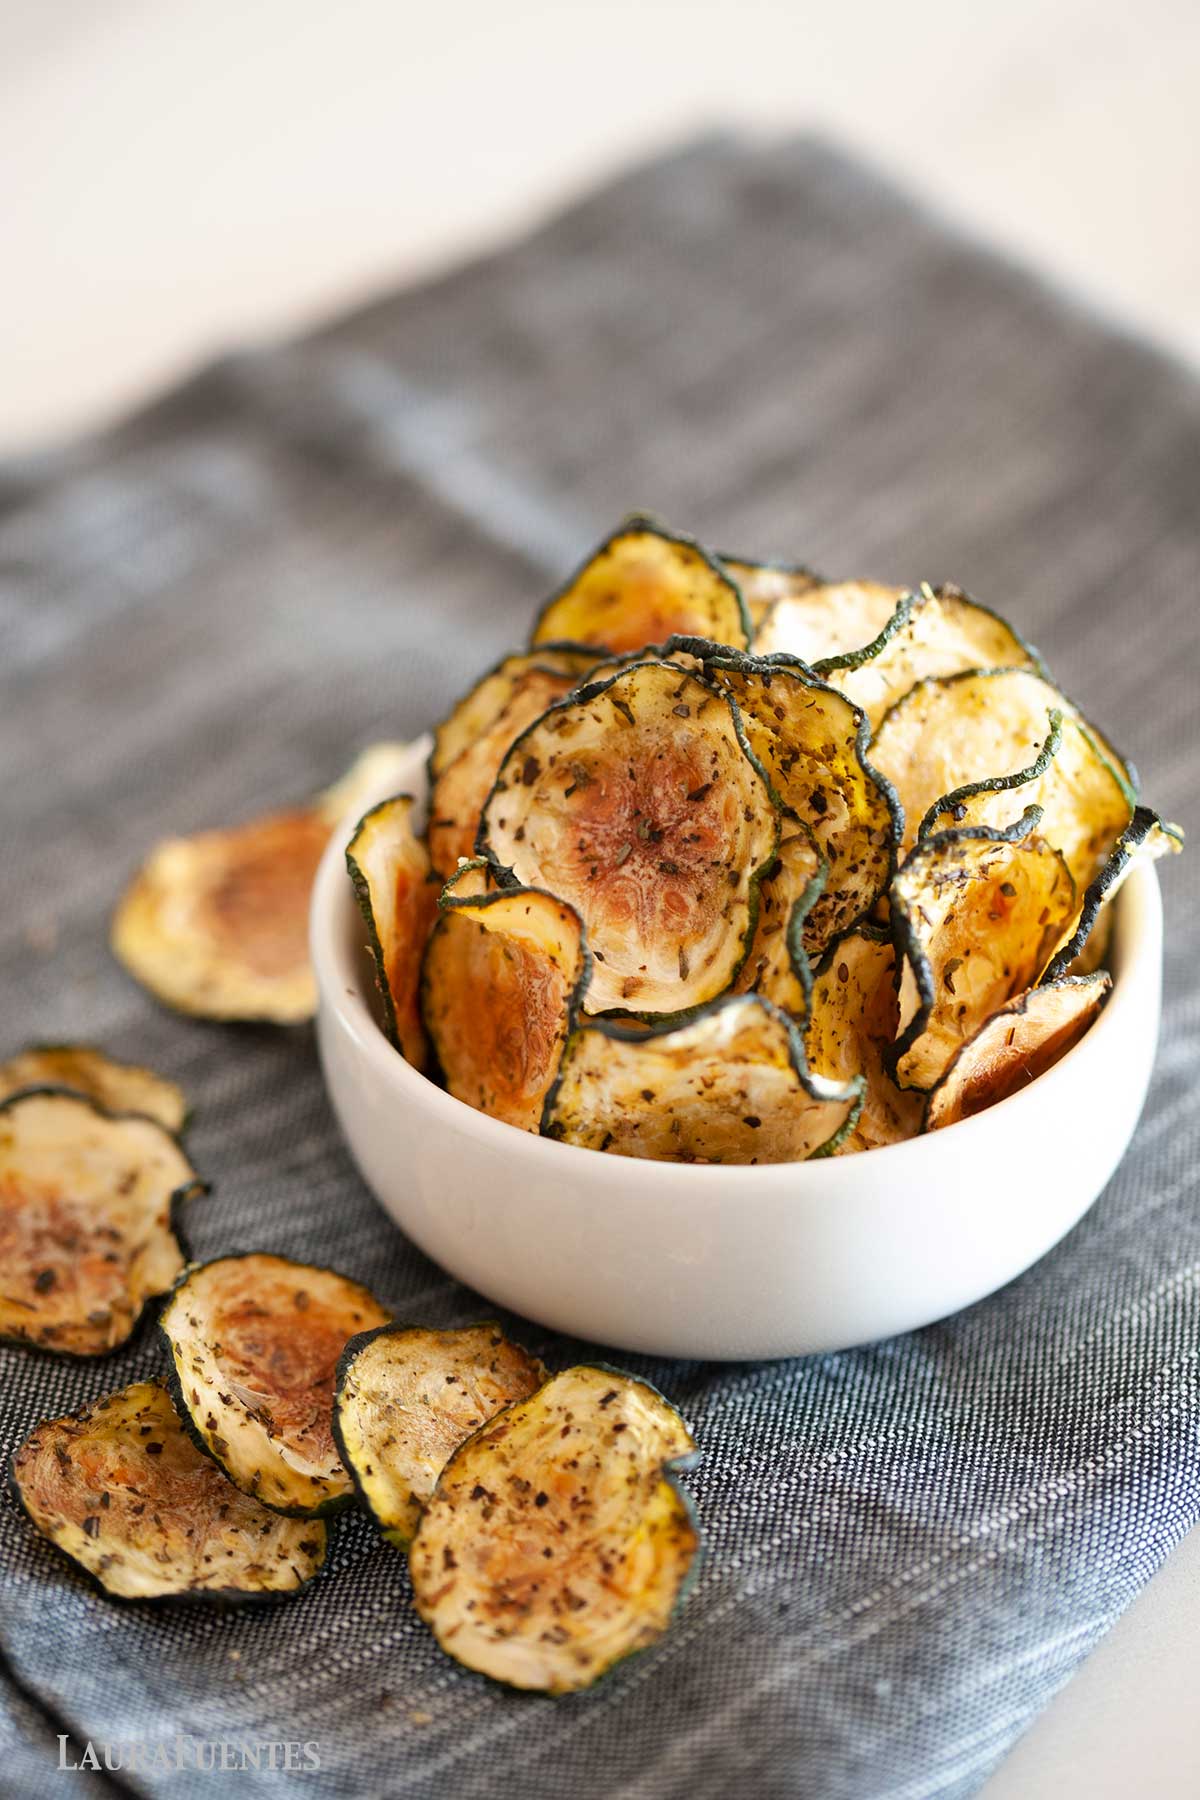
If you’re like me and find yourself and your kids reaching for salty snacks like chips and crackers, these zucchini chips are a great solution. They’re easily made in the oven with your choice of seasonings and baked to perfection.
All you need to make these chips are a couple of zucchinis, a large baking sheet, parchment paper, and your choice of seasonings. It’s a super simple recipe and a healthier swap for regular potato chips.
How to Make Zucchini Chips
We let the oven work its magic to turn sliced zucchini into crispy, delicious little things. Here’s how to make them:
- Prep
Preheat the oven to 225F and line a baking sheet with parchment paper. - Slice paper-thin
Using a mandolin or chef’s knife, thinly slice the zucchini into ⅛-inch thick slices. This is easy to do with a mandolin, but give yourself some grace if you’re using a knife. - Extract the moisture
Place the slices onto a paper towel and sprinkle with salt. Cover with an additional paper towel and allow the zucchini to sit for 10 minutes. - Add your seasonings
Lay the zucchini onto the baking sheet in an even layer. Use two baking sheets if necessary. Brush the olive oil over the zucchini then sprinkle with seasonings. - Bake until crispy
Bake for 2 hours or until the zucchini chips are crisp and golden. - Time to dip
Remove the zucchini from the oven and allow to cool before serving. As they cool they will further crisp up. Enjoy them as is or serve with your favorite dip.
Watch this quick video to see the baked zucchini come together step-by-step.
Store in an airtight container for up to 1 week, after baking and cooling. Adding a paper towel will help keep them dry and crisp.
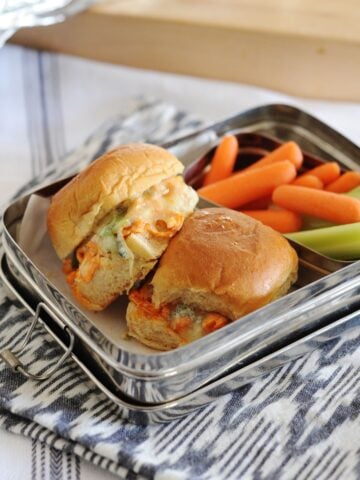
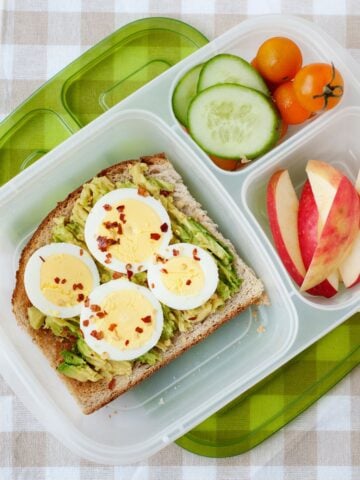
Zucchini chips make a great addition to the lunchbox, including any of these 101 Packed Lunch Ideas. There are a variety of recipes to choose from, like sandwiches, wraps, power bowls, and bento boxes, and a side of baked zucchini chips will help make the lunch complete!
How Long to Bake Zucchini Chips
Zucchini chips need to bake low and slow. This gives enough time for any excess moisture to evaporate and the zucchini to get crispy without burning. In a 225F, which is about the temperature of a dehumidifier, it takes around 2 hours.
You’ll know the chips are ready when they are golden in some spots and crispy to the touch.

If you want to speed up the process, try making these zucchini chips in the air-fryer. It takes about 30 minutes, and they have that roasted, air-fryer flavor.
Make next: Baked Plantain Chips
Crispy Zucchini Chips
Here are a few simple tips to ensure those zucchini chips turn out nice and crisp.
Don’t overseason
Too many spices and seasonings will cause the chips to wilt.
Give them space
Crowding the slices onto the baking sheet causes them to sweat, and you guessed it, that means steamed zucchini, not chips.
Don’t skip the salting step
Salting the uncooked zucchini slices and pressing between paper towels will help extract moisture, so they crisp up nicely in the oven.

Zucchini Chip Seasonings
You can season these zucchini chips any way you like, whether it’s plain ole salt and pepper or one of the seasoning blends below. Remember not to use too much seasoning; ½ teaspoon should be plenty.
- Everything but the Bagel
- Taco Seasoning
- Parmesan cheese
- Italian Seasoning
- BBQ rub
- Creole seasoning
How to Serve Zucchini Chips
Now that you have a healthier chip, you can also enjoy them with your favorite dip. Below are a few ideas to serve with these zucchini chips while keeping it light:
Baked Zucchini Chips

Watch How It’s Packed:
Ingredients
- 1 medium zucchini
- 1 tablespoon olive oil
- Salt and other seasonings to taste
Instructions
- Preheat the oven to 225F and line a baking sheet with parchment paper and set aside.
- Using a mandoline or a knife, thinly slice the zucchini. The thinner the slices, the better they’ll crisp up in the oven.
- Lay the slices evenly onto sheets of paper towels, then sprinkle the tops with salt. Use no more than ¼ teaspoon total for all the slices.
- Allow the slices to sit for about 10 minutes. This will help draw out the liquid.
- After 10 minutes, blot the slices dry with additional paper towels to remove the excess moisture.
- Lay the slices evenly on the baking sheet (you may need to use more than one pan, depending on how large your zucchini is).
- Brush the olive oil evenly over the tops of the slices, then sprinkle with your seasonings of choice. Be careful not to use too much because you already salted the slices, and they will shrink when baking.
- Bake for about 2 hours, or until they’ve reached your desired crispiness.
- Remove from the oven and allow to cool prior to serving.


Carol says
Do you have to refrigerate them when storing after baking them? I want to use them for snacks at work.
MOMables - Laura says
No, they are dehydrated. Just store in a zip bag. Enjoy!
Yumi says
I tried with Zucchini and Kale but both came out soggy. I never could make crispy.
Could you give me tips to how to make crispy please.
MOMables says
Hi! You could try baking for the amount of time given, then bumping up the temperature higher until they’re crispy.
Denise S says
Loved these! What great way to eat zucchini. I hate soggy zucchini so this was awesomely. I cooked on higher temp (400 convection roast) so it only took about 25 mins.
MOMables says
So glad you liked these, Denise!
Ms Match says
425 degrees for 30 min works better for me than the low temp at 2 hrs… just saying
Shivee says
Okay, I just made these in the oven and mine all stuck to the trays I cannot get them to come off in one piece they are stuck…any suggestions? (otherwise I have to toss them)
MOMables says
Did you line your pan with parchment paper? they don’t stick to parchment paper.
khedma says
Looks amazing, and easy to do, i will try to make zucchini today i have never tried it before. Thanks for the recipe.
MOMables says
enjoy!
Annmarie says
Hi! Can you use this same recipe for a cucumber? Thanks!
Laura Fuentes says
I’ve never tried dehydrating cucumbers! Let me know if you try it and how it works for you.
Angel says
These came out perfect initially, crispy and flavorful. Problem is I made them last night and had to store them after cooling. They are limp and crispless now, so sad! Any way to save them? I may just toss them back and serve hot while the kids are awake. I had so wanted to bring them to our picnic outing!
MOMables says
I have to say that these are best when consumed after being made. Also, making sure your zucchini is fully dried helps. the limpness is due to moisture too.
Emma says
Hi, I’m just wondering if we are using farenheit or celcius temps?
MOMables says
Farenheit.
Alba says
I just made these and wanted to say that they are awesome! They really have a crunch to them, and tasted remarcably like the true thing.
The only problem that I can see is that just one zucchini is gone really fast!
Katie says
We already gobble up Kale chips, it will be nice to add these to the rotation, thanks.
I have seen a few recipes for cauliflower used as chicken nugget replacements, some of them with a buffalo sauce on them, a replacement for buffalo wings. We’ve tried a few of those recipes, but none of them have resulted in a crispy exterior of the cauliflower. Any tips or ideas? Most of them called for cooking hot and fast, maybe low and slow would be the way to go?
MOMables says
I don’t know Katie. I would have to test the particular recipe. My guess is that there was nothing on the outside to coat it and make them “crispy”
marie says
Have you ever tried using a dehydrator instead?
MOMables says
No, I’m sorry Marie. This recipe was developed for those of us who don’t have a dehydrator.
shan says
Will they only last 2-3 days? Could you freeze them or vaccum seal them to make them last longer?
MOMables says
unfortunately not. these are meant to eat fresh. sorry!
Matt Robinson says
I too have passed my love of chips along to my boys unfortunately, so I love this idea. And since we love zucchini, I can’t wait to try these with several different seasonings. Thanks!
MOMables says
Thanks Matt! I can’t get enough zucchini… sooooo versatile!