
This post may contain affiliate links. Read our disclosure policy here.
Much healthier (and tastier) than store-bought, this homemade fruit leather is easy to make using your favorite fruit with just 2 ingredients.
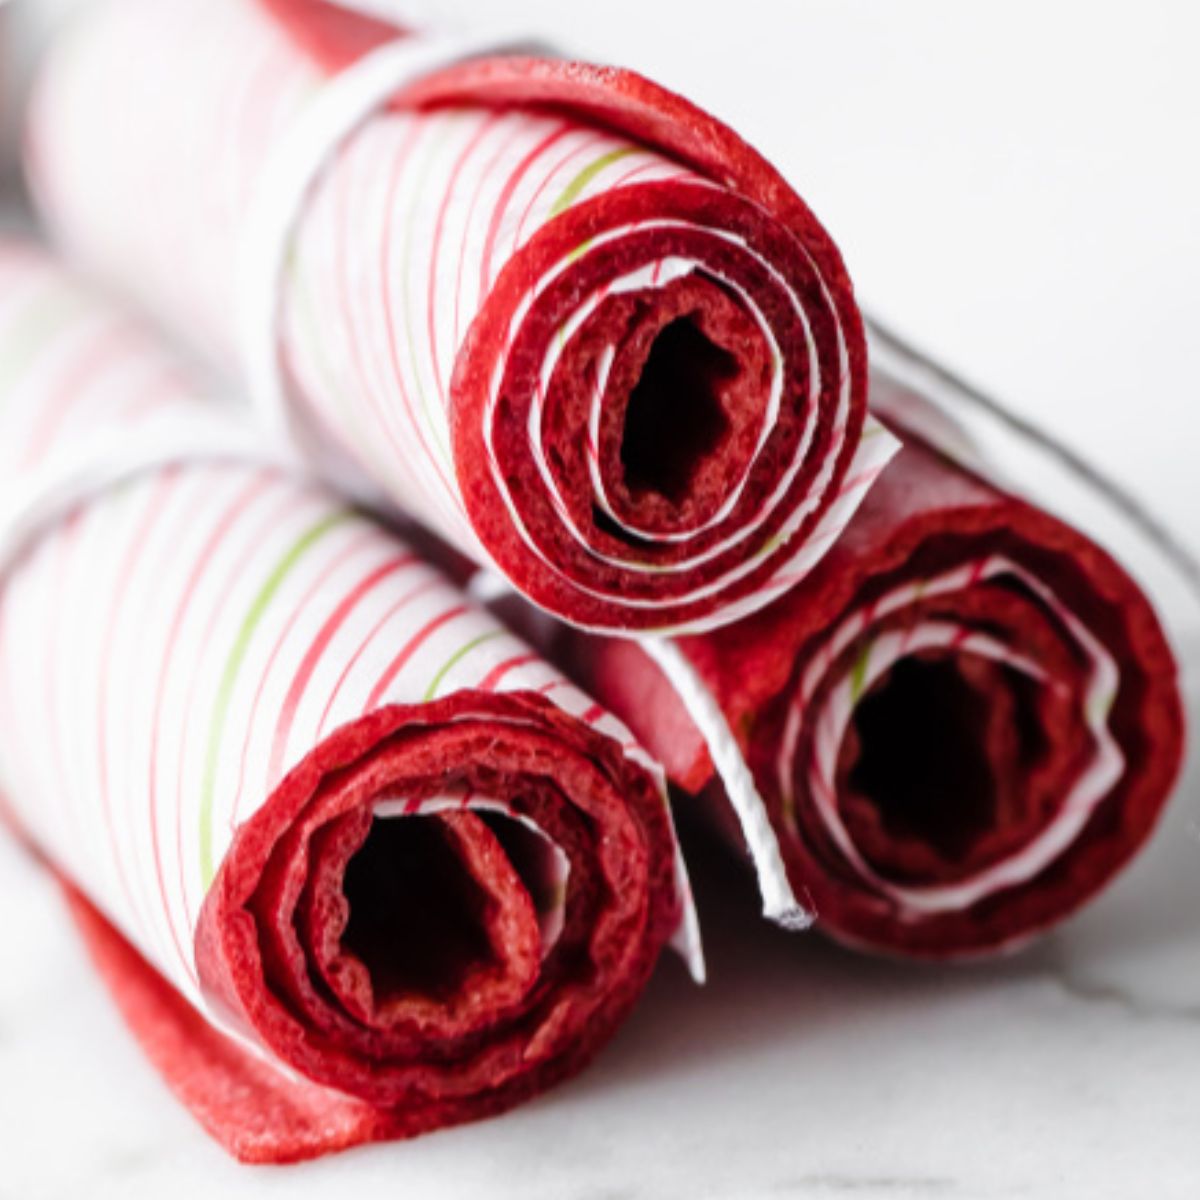
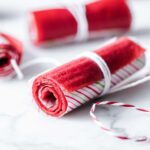
Strawberry Fruit Leather
I first published this fruit leather recipe in my cookbook, The Best Kid's Lunches on the Planet, back in 2013 - and it's been a reader favorite ever since.
It's one of the easiest, most fun snacks to make at home.
Ingredients
To show you how to make it, I used strawberries in the recipe, but you can use any fruit in the same quantity. Adding a little lemon juice to the mixture keeps the color nice and bright.
- Fruit: wash, peel, and dice any fruit. Blueberries, mango, raspberries, peaches, apples, all work great.
- Honey: a little to sweeten. You can use granulated sugar, too, but it doesn’t blend as well. The sweetener can be omitted.
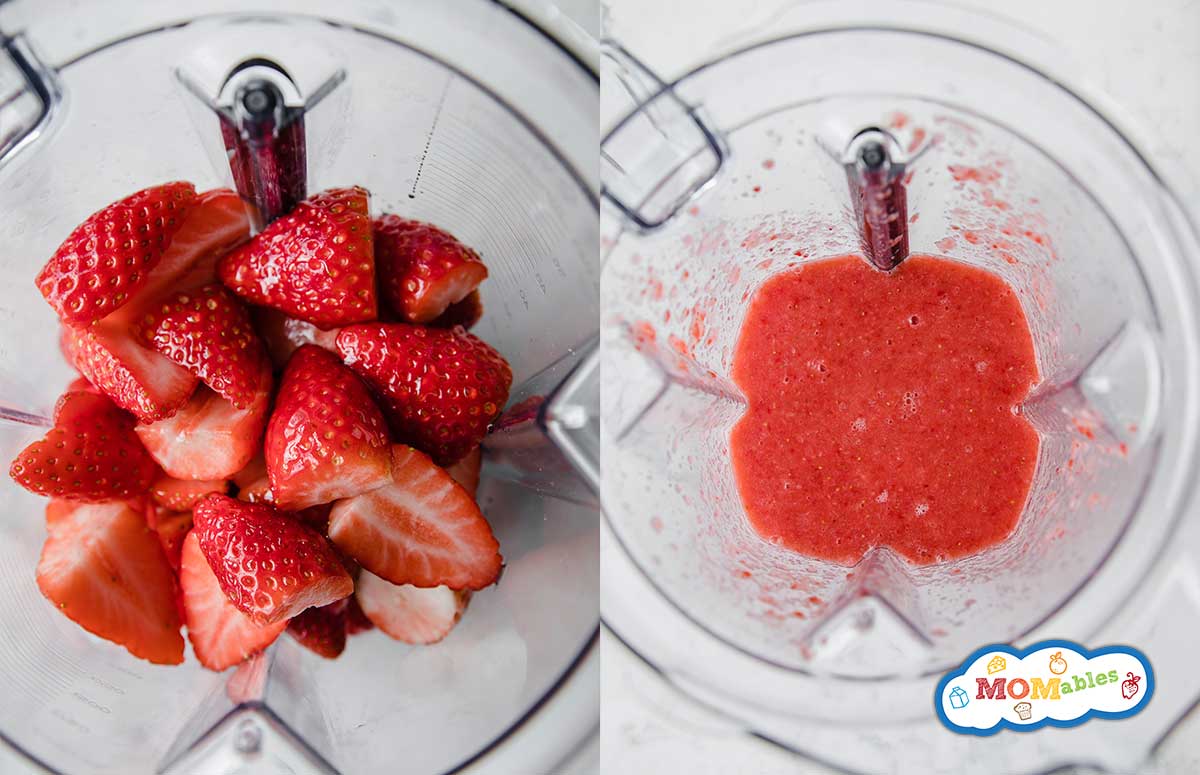
Fruit Leather with Frozen Fruit
You’ll need to thaw the frozen fruit first, discard any excess liquid, and then blend it to a smooth consistency.
How to Make Fruit Leather
- Prep
Set the oven to the lowest temperature available, with 200F being the highest. The oven rack should be positioned in the middle of the oven, and the baking sheet should be lined with parchment paper. Wax paper will burn. - Blend
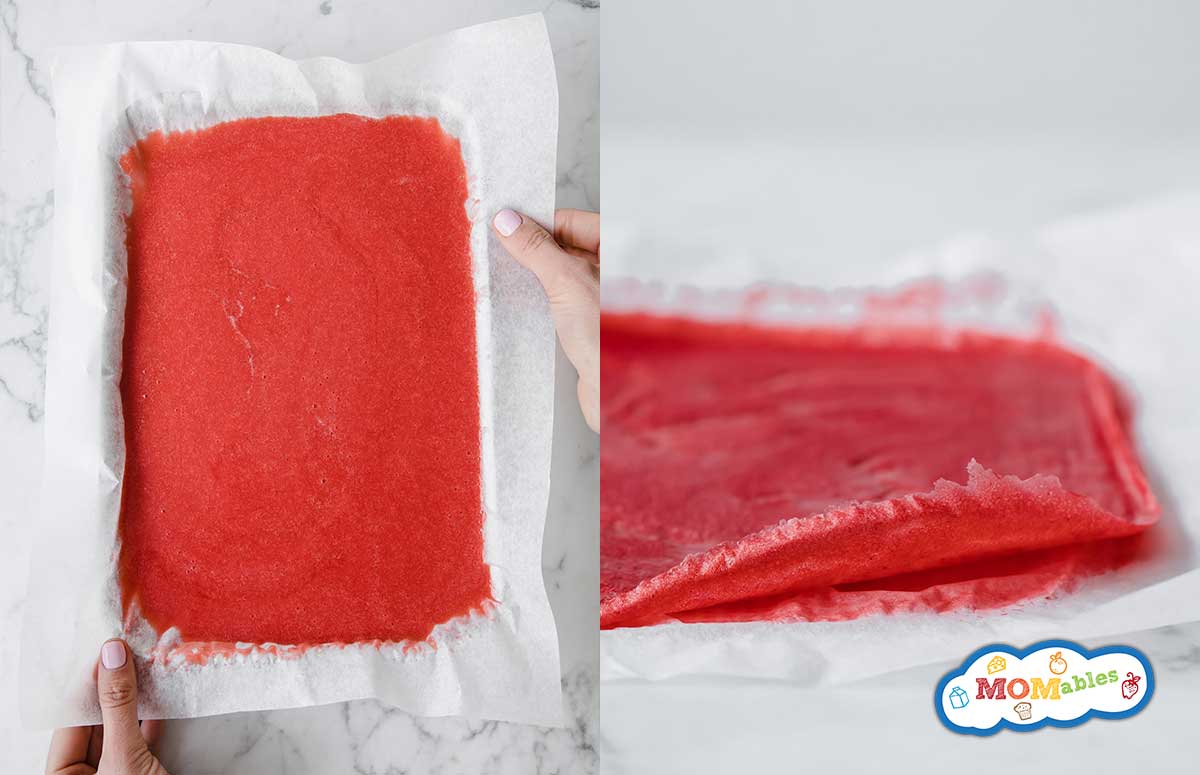
Wash, chop, and prep your fruit. Blend it until smooth. Spread it evenly on the parchment paper, ensuring the middle isn’t thicker than the ends, as this takes the longest to dry. - Bake
Bake it for about 4 hours (at 200F) until the middle no longer looks dark and wet and the sides begin to lift away. - Cool & Store
Allow the fruit leather sheet to cool completely for 4 hours on the baking sheet, or overnight. Cut it into strips using scissors, roll them up, and store in an airtight container for up to a week.
First time making fruit leather? Watch how easy this recipe comes together in this video:
Other Fruit Variations
Follow this recipe and swap the strawberries for blueberries, peaches, apples, pineapple, mango, pears, or raspberries.
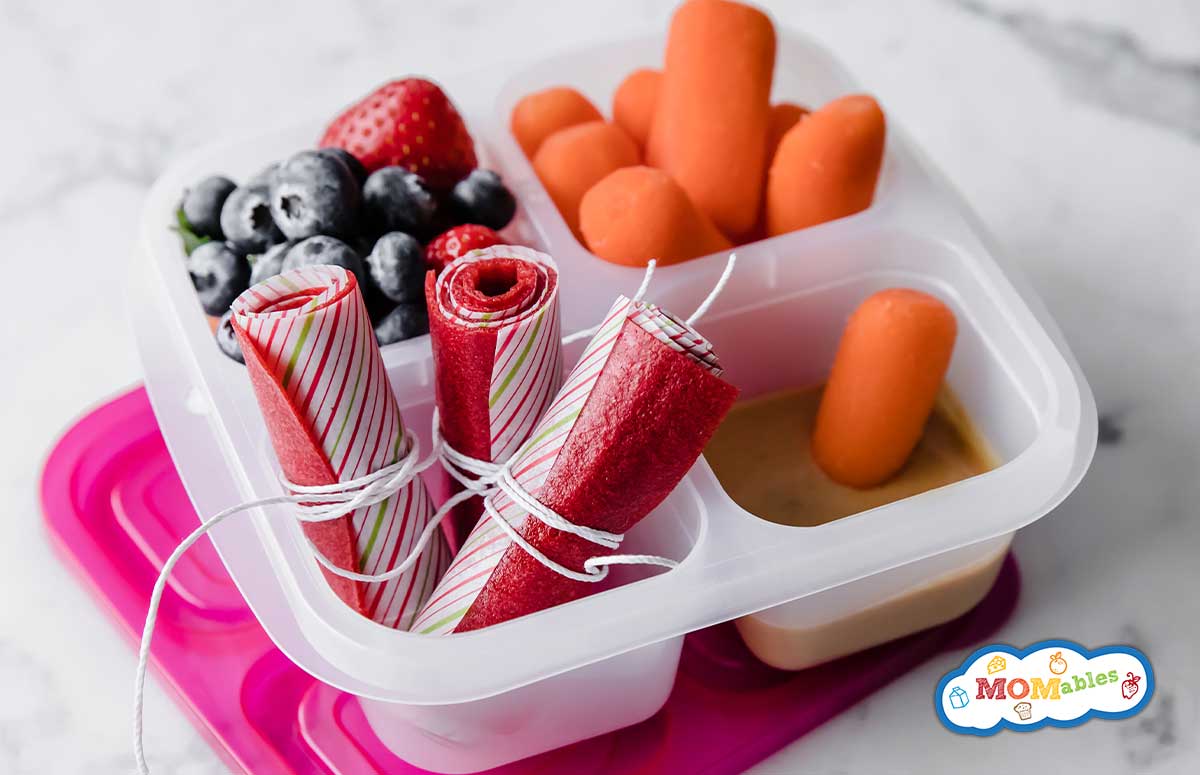
Easy Fruit Leather Recipe
Watch How It’s Made:
Ingredients
- 4 cups diced strawberries, any fruit
- 2 tablespoons honey, or sugar
- 1 tablespoon lemon juice, optional
Instructions
Prep the oven:
- Preheat oven to the lowest setting, between 150F to 200F, with the top oven rack in the middle position. If making more than one tray, place the second oven rack right below the first. Line a baking sheet with parchment paper. Do not use wax paper.
Blend:
- Add the berries and honey into a blender and blend until smooth. Add the lemon juice to keep the fruit leather bright in color; it's not essential to the recipe, just for looks. To remove the berry seeds, pour through a sieve.
- Pour the mixture onto the prepared baking sheet and, with the back of a silicone spatula, spread the berry mixture into a thin, even layer. The middle tends to be thicker than the sides, spread this out to just as thin since the middle is the last thing to dry out.
Bake:
- Bake for 4 to 6 hours, until the fruit leather peels away easily from the parchment and the middle is no longer wet. If baking multiple baking sheets, swap positions after 2 to 3 hours. Remove the tray from the oven onto the counter to fully cool down for 4 hours or overnight.
Roll them up:
- With scissors, cut the parchment paper from one end to the other, into strips. Roll them up, parchment and all.
- To eat, separate the fruit leather from the parchment as you go.
Storage:
- Store the fruit leather rolled up in a zip bag or an airtight container in the fridge or pantry for up to 1 month.
Notes
- Oven temperatures will vary. Start checking the fruit leather after 3 to 4 hours. If you leave it in too long it will crisp up.







Bridget says
I made this for my granddaughters out of some cherries I bought at the fleamatket. They are really good! I used parchment paper and it worked wonderfully. I did spend quite a lot of time making
sure the consistency was correct before pouring into the cookie sheet. It was rather thick. Perhaps that is why it worked? bridget
Donna says
I had the same trouble as Zoe. I couldn’t get the leather off the parchment. Had to throw away 4 pans of apricot leather. So discouraging!
MOMables says
did you use parchment or wax paper? the recipe only works with parchment.
Eliane says
And in a dehydrator, how many hours and temperature?
MOMables says
Eliane,
I dont’ own a dehydrator but this is a good resource to check.
Zoé says
Just tried this recipe but–oh so sad!–what we managed to peel off the cookie sheet was so stuck to the parchment paper I ended up throwing it away. Anybody else had this problem and what to do? I’d like to try again because it tasted awesome, but don’t want to waste more strawberries!
MOMables says
Zoe, did you use non-stick parchment paper or wax paper? Please the box. The recipe will melt to wax.
Geoff says
I have the same problem, using parchment paper.. does it matter if you pour on the shinier side or dull side?
MOMables-Laura says
Hi, Geoff, I’m not certain what type of parchment paper is being used but there is no right or wrong side. You should be able to pour it on either.
Erica says
Use Silpat sheets. My fruit leather turned out a little thin, but it came off really easily. Just need to make it thicker next time. Also, I used honey, I read somewhere you can also use corn syrup but sugar may crystalize.
kristina says
I dont have any honey . Is there an alternitive?? Or can I make it with out honey?
MOMables says
You sure can make it without it.
Sara says
I just made these, one with blueberries and one with peaches. The blueberries took a good 7 hours in a 170 degree oven (as my oven will not go any lower) and were still a little wet underneath, but the top firmed up nicely. The peach is a different story, however. It went in at the same time as the blueberry batch, and 7 hours later still hadn’t set up. I finally just pulled it and scrapped off the peach puree and decided to freeze it to make peach muffins at a later date. Why do you think the peach would not set up?
MOMables says
Sara, the only thing I can think of is that it was set too thick on the parchment paper. Every oven is different and in mine it takes about 4-4.5 hours while at my parent’s house only 3.5!
Janice says
Have you frozen these? We were given some fruit leather once that had been frozen. I tried to get the recipe but it was from a friend of a friend and I was never able to connect with her. Would love to make this during the summer and have for lunches this fall.
Laura says
Janice, I’ve never frozen this recipe. It usually doesn’t last long enough! I imagine that it shouldn’t be a problem. If you try freezing one batch, will you let us know?
Maureen Barnes says
Once the fruit leather is made , it can be frozen for longevity.
alicia says
i tried it but too way longer then six hours
Laura says
Oven times will vary. It also depends how thick your ‘leather’ is. don’t get discouraged!
Shoushig says
In lebanon we dry the fruit leathers under sun rays .it takes 3 or 4 days . In august two days are enoufh in septem it takes 3 to4 days
sunithi says
lovely ! Pinned it !! Looks so yummy. Will try it over the summer when we go berry picking. What other fruits work well ? have you tried others ?
Laura says
I’ve tried apples, mangoes, strawberry – banana and even spinach (but this last one was done in a food dehydrator)
Jen N says
I have always wanted to do this and now I cannot wait to go berry picking. Once they are cooled and cut, how long do they last and how are they best stored? :)
AlisonBickel says
Jen–Store them in an airtight container and they’ll usually last about a week. After that, they are a bit too ‘leathery’.