
This post may contain affiliate links. Read our disclosure policy here.
Much healthier (and tastier) than store-bought, this homemade fruit leather is easy to make using your favorite fruit with just 2 ingredients.
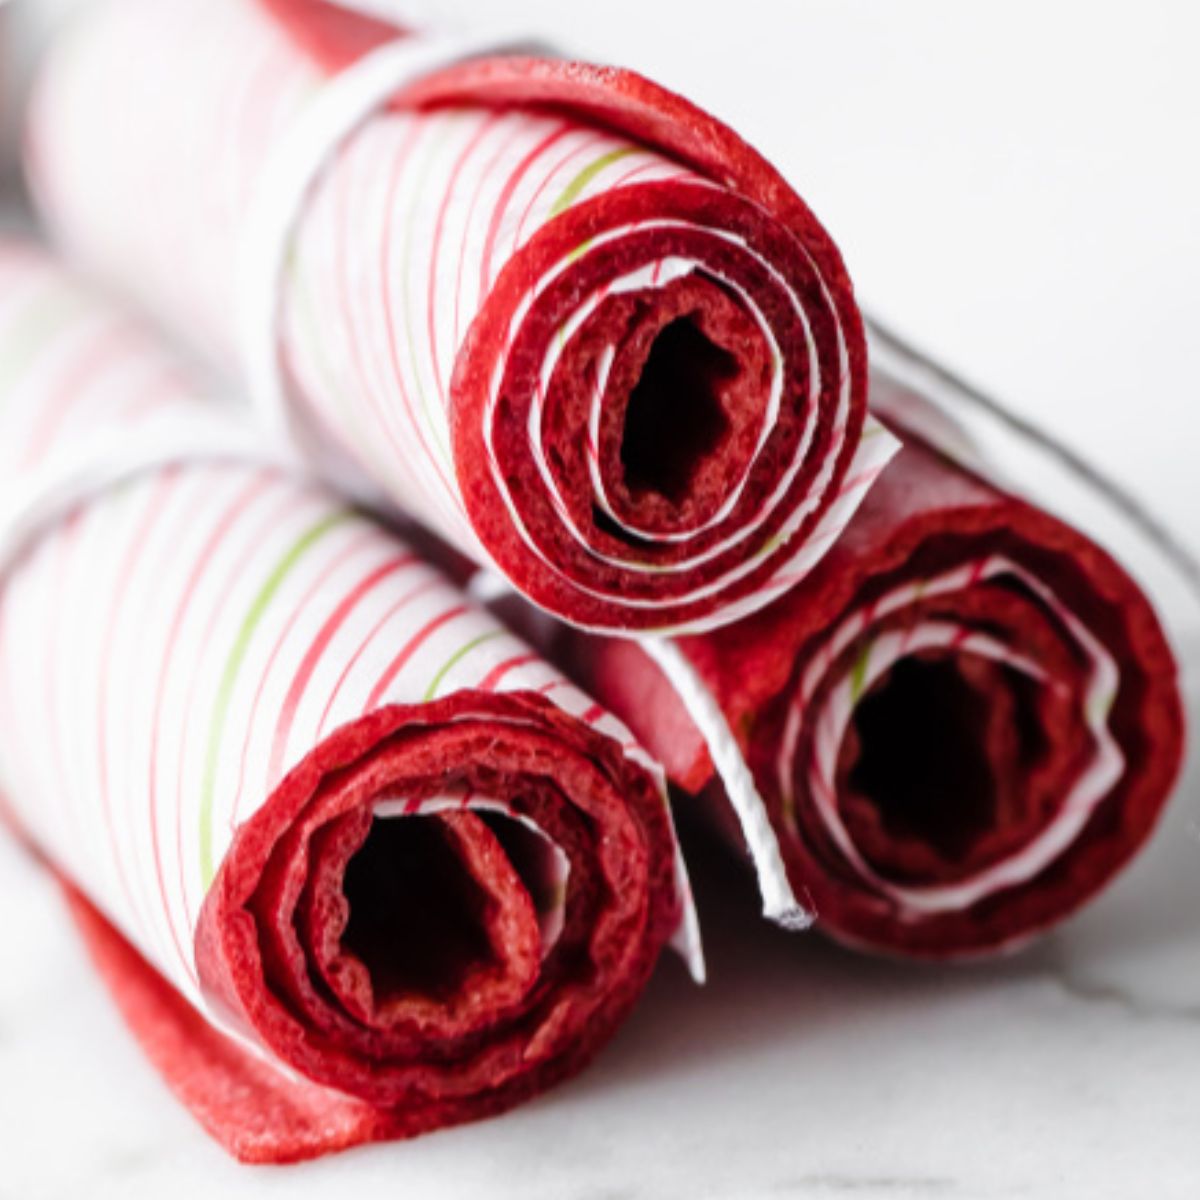
Strawberry Fruit Leather
I first published this fruit leather recipe in my cookbook, The Best Kid's Lunches on the Planet, back in 2013 - and it's been a reader favorite ever since.
It's one of the easiest, most fun snacks to make at home.
Ingredients
To show you how to make it, I used strawberries in the recipe, but you can use any fruit in the same quantity. Adding a little lemon juice to the mixture keeps the color nice and bright.
- Fruit: wash, peel, and dice any fruit. Blueberries, mango, raspberries, peaches, apples, all work great.
- Honey: a little to sweeten. You can use granulated sugar, too, but it doesn’t blend as well. The sweetener can be omitted.
Fruit Leather with Frozen Fruit
You’ll need to thaw the frozen fruit first, discard any excess liquid, and then blend it to a smooth consistency.
How to Make Fruit Leather
- Prep
Set the oven to the lowest temperature available, with 200F being the highest. The oven rack should be positioned in the middle of the oven, and the baking sheet should be lined with parchment paper. Wax paper will burn. - Blend
Wash, chop, and prep your fruit. Blend it until smooth. Spread it evenly on the parchment paper, ensuring the middle isn’t thicker than the ends, as this takes the longest to dry. - Bake
Bake it for about 4 hours (at 200F) until the middle no longer looks dark and wet and the sides begin to lift away. - Cool & Store
Allow the fruit leather sheet to cool completely for 4 hours on the baking sheet, or overnight. Cut it into strips using scissors, roll them up, and store in an airtight container for up to a week.
First time making fruit leather? Watch how easy this recipe comes together in this video:
Other Fruit Variations
Follow this recipe and swap the strawberries for blueberries, peaches, apples, pineapple, mango, pears, or raspberries.
Easy Fruit Leather Recipe

Watch How It’s Made:
Ingredients
- 4 cups diced strawberries, any fruit
- 2 tablespoons honey, or sugar
- 1 tablespoon lemon juice, optional
Instructions
Prep the oven:
- Preheat oven to the lowest setting, between 150F to 200F, with the top oven rack in the middle position. If making more than one tray, place the second oven rack right below the first. Line a baking sheet with parchment paper. Do not use wax paper.
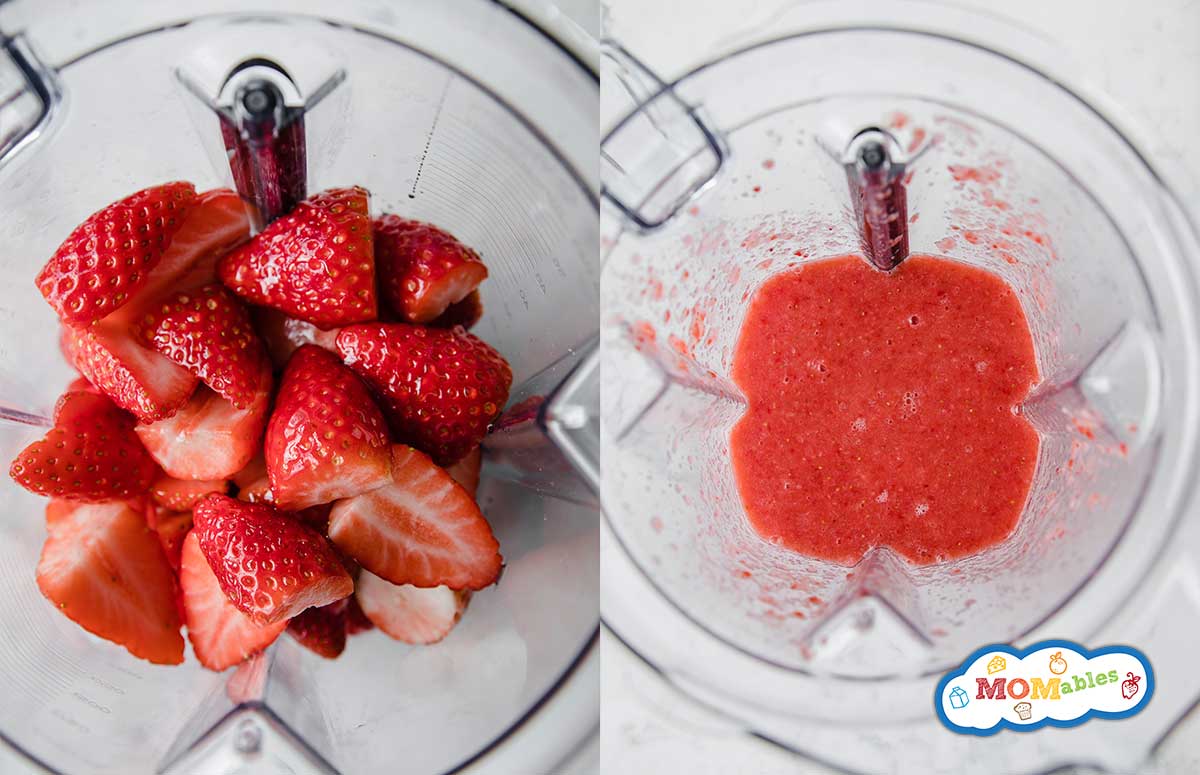
Blend:
- Add the berries and honey into a blender and blend until smooth. Add the lemon juice to keep the fruit leather bright in color; it's not essential to the recipe, just for looks. To remove the berry seeds, pour through a sieve.
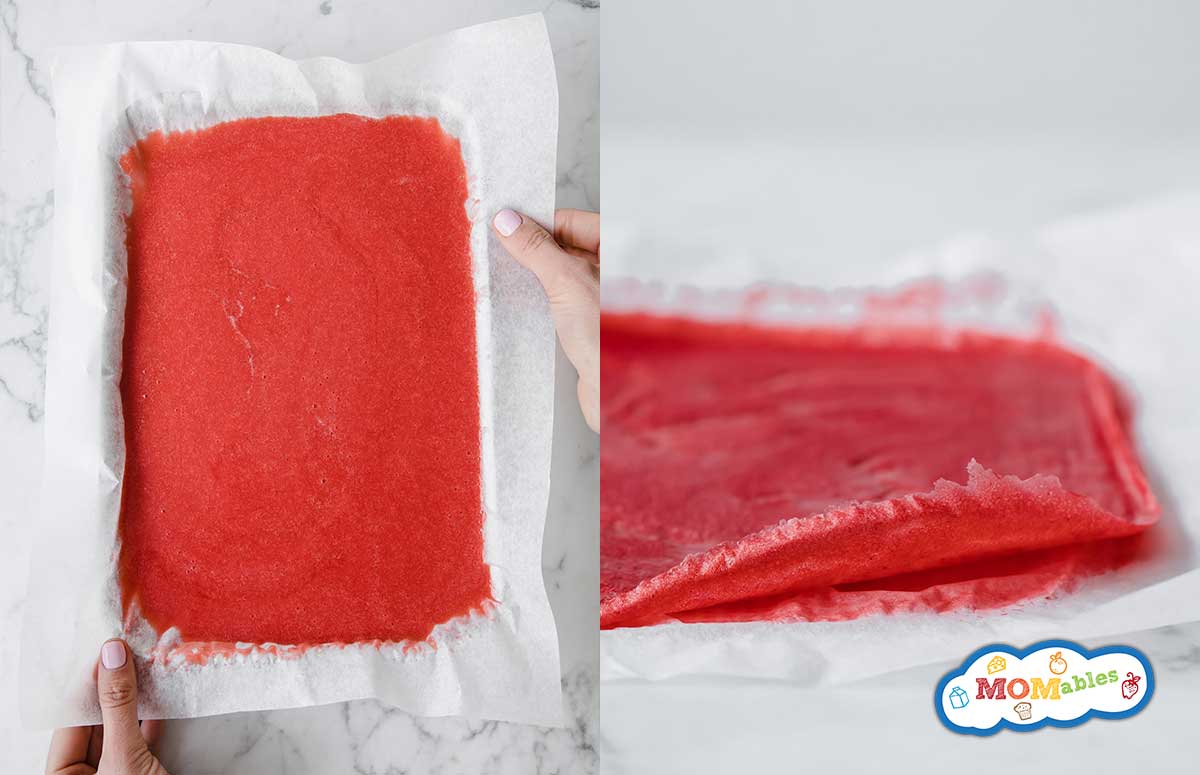
- Pour the mixture onto the prepared baking sheet and, with the back of a silicone spatula, spread the berry mixture into a thin, even layer. The middle tends to be thicker than the sides, spread this out to just as thin since the middle is the last thing to dry out.
Bake:
- Bake for 4 to 6 hours, until the fruit leather peels away easily from the parchment and the middle is no longer wet. If baking multiple baking sheets, swap positions after 2 to 3 hours. Remove the tray from the oven onto the counter to fully cool down for 4 hours or overnight.
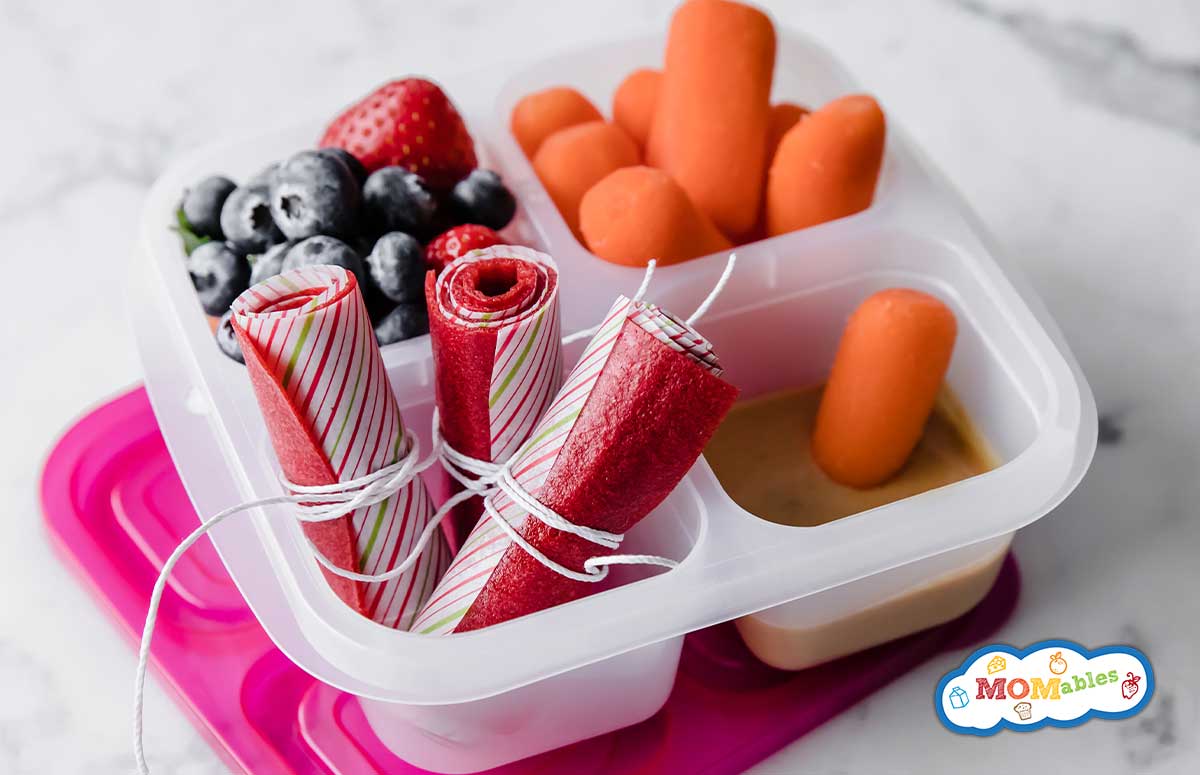
Roll them up:
- With scissors, cut the parchment paper from one end to the other, into strips. Roll them up, parchment and all.
- To eat, separate the fruit leather from the parchment as you go.
Storage:
- Store the fruit leather rolled up in a zip bag or an airtight container in the fridge or pantry for up to 1 month.
Notes
- Oven temperatures will vary. Start checking the fruit leather after 3 to 4 hours. If you leave it in too long it will crisp up.


Candice Jackson says
if im making fruit leather and use wax paper will that work
MOMables says
No this only works with parchment paper.
C Prost says
I cooked fruit leather too sour…Can I put a bit more sugar and water in a pot AND
re-cook the fruit (rasp/rhubarb)
MOMables says
Yes that should work!
Lacey says
Could I use quilon paper or is that along the same lines as wax paper?
MOMables says
That should work!
Brian says
Can you explain why you have to cook the fruits? Is there a reason you could not puree the fresh fruits?
MOMables says
Making “fruit leather” is dehydrating the fruit. The “leather” texture is achieved when you take out the humidity/water content from the fruit. You aren’t really “cooking” it at 200degrees. If you puree fresh fruit you have…. fruit puree.
Susan B says
He was asking about dehydrating cooked vs raw fruit puree.
I’ve never tried it with raw fruit, but I’m seeing lots of recipes online that don’t require cooking. Try it both ways…Good luck!
khushi says
can i refrigate it instead of baking it
MOMables says
no, you need to bake it to make the “leather”
Anita says
Ok so I guess my layer was too thin and I didn’t scroll all the down and see that was paper is a no no. So I made 2 pans of mango nectarine flavor and it won’t separate from the wax paper :( Any tips on getting it off? I think I just wanted a lot of fruit :(
MOMables - Laura says
I’m so sorry. Wax paper will melt into the fruit. Your best option is to fully wait until it cools and slowly peel it.
Melody says
I am really itching to try this, but I was wondering the steps for using frozen fruits instead of fresh. Also, some recipes say just blend and bake, but some say to cook it first, so I am curious as to why we have to cook it. I have a confection oven, so I’m hoping it wouldn’t take as long. Wish me luck!
MOMables says
you can just blend and bake using fresh or frozen. when you use frozen strawberries the water content is high, so it will take a longer to dehydrate.
Jerilynn says
Can this recipe be used in a food dehydrator?
MOMables says
Absolutely. It takes about 24h in mine.
Lily says
I just made the Apple Cinnamon Fruit Leather from your Best Homemade Kids’ Snacks on the Planet book. I had the puree in the oven at about 175 for 11 hours. I used a 1/4 sheet pan with parchment paper and they come off the paper without any trouble. A bit tough on the edges, but perfect texture in the middle. Great flavor and the kids really like it! Just took lots of extra time.
MOMables says
I’m so glad it was a success! perhaps it was poured a bit thick?
Pat says
How do you know if the fruit leather is done. I did some in the oven and it was sticky. I then used my dehydrator and it’s been over 26 hours. It still seems sticky.
MOMables - Laura says
There is “sticky” and there is “wet.” Sticky is ok. At that point, remove it from the dehydrator or oven and let it air “dry.”
Carmalene Churba says
I used a siltpad and then transferred the finished product to a piece of parchment paper and it came our great. I also cooked the the berries and added a little bit of sugar while cooking as they were really tart. Cooking them beforehand helped cook off some of the moisture in the berries and took less time in the oven. I simmered them for approximately 35 mins they reduced to about half. I pureed the fruit after it cooled a bit and I also made sure the puree was 1/4″ thick when I had spread it out on the pad, otherwise if they’re too thin and it turns into a fruit crisp or stuck the parchment when I used parchment.
Cassie says
I added sugar and it burned at 2 hours, can you not add sugar?
MOMables says
Sugar will burn. The recipe calls for honey, it has different cooking points than sugar.