
This post may contain affiliate links. Read our disclosure policy here.
Learn how to make a sweet-and-savory bacon apple grilled cheese, and keep it crispy and delicious whether it's eaten now or packed in a lunchbox for later.
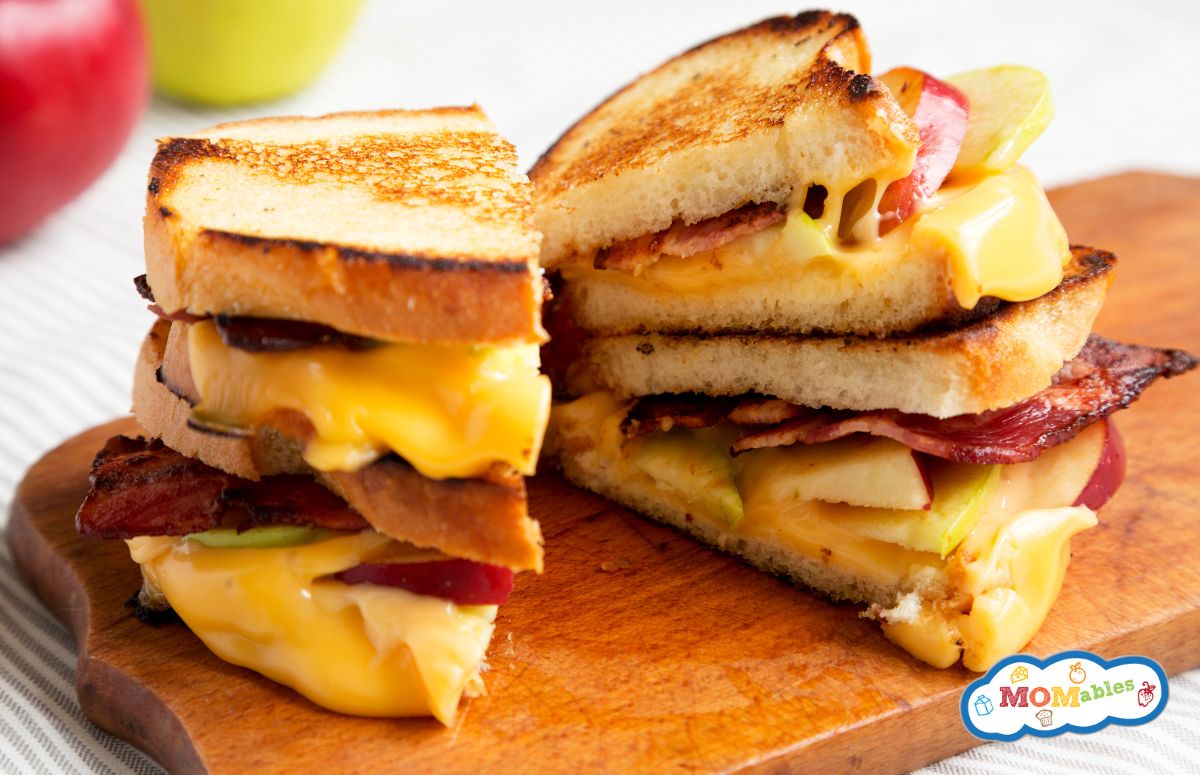
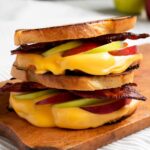
Fancy Grilled Cheese with Bacon and Apples
Last week, my son was making his current favorite-an apple cheddar grilled cheese-when I noticed the bacon package left out on the counter (typical). When I asked about it, he proudly informed me he'd elevated his lunch to a fancy grilled cheese with bacon and apples.
Um… salty, sweet, melty, and crunchy? Epic combo! Clearly, the apple (sorry) doesn't fall far from the tree. And thanks to my microwave bacon hack, this kind of upgrade is totally teen-doable-no skillet, no mess, just crispy bacon in minutes.
Best Apples for Grilled Cheese
The best apples for grilled cheese are crisp, slightly tart varieties like Granny Smith or Honeycrisp. They hold up well in grilled sandwiches and give a juicy crunch you don't get from softer types.
How to Make an Apple & Bacon Grilled Cheese
This grilled cheese with apple and bacon is super satisfying and easy to assemble. Here's how to get that golden, melty result every time:
- Prep
Cook the bacon until crispy, then set it aside on paper towels to drain and cool. - Assemble the sandwich
Butter one side of each bread slice, just like a classic grilled cheese. On the unbuttered side, add cheese (a melty one like cheddar, gouda, or American), a few thin apple slices, bacon, a second layer of cheese, and close. Slicing the apple thin helps it layer better and prevents it from sliding around once the cheese melts. - Grill it
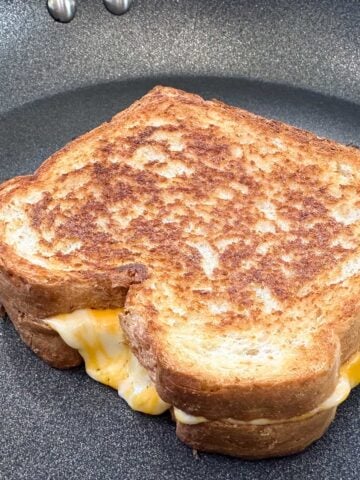
Grill it in a skillet over medium heat for about 2-3 minutes until the bread is golden brown. Flip and grill on the other side an additional 2-3 minutes until the cheese is gooey and melty. You can also air fry a grilled cheese and forget about standing over the stove altogether! - Serve
Remove the grilled cheese from the heat and allow it to rest for a few minutes before slicing it on a plate or cutting board.

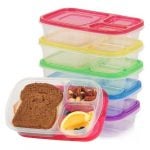
Packing Grilled Cheese for Lunch
I’ve packed enough grilled cheese to know it holds up surprisingly well in a school lunch with the right tips. Let the sandwich cool first to avoid soggy bread from condensation, then pack it in a hard, lunch container so it doesn’t get squished.
Then, add a few healthy lunch sides and an ice pack, and you've got a teen-approved lunch that can totally hold its own!
Bacon Apple Grilled Cheese
Ingredients
- 2 slices bread
- 1 tablespoon butter
- 2 slices cheese
- 3-4 thin apple slices, like Honeycrisp or Pink Lady
- 2 slices cooked bacon
Instructions
Assemble the sandwich
- Spread butter on the outside of both bread slices. On the unbuttered side, layer a slice of cheese, a few thin apple slices, bacon, a second layer of cheese and then close the sandwich.
Grill
- Heat a non-stick pan over medium. Grill the sandwich for 2-3 minutes per side, or until the bread is golden brown and the cheese is fully melted.
Serve
- Remove the sandwich from the pan, and allow it to cool down to room temperature before cutting it in half.

Katherine says
This gourmet grilled cheese with bacon and apples was just so tasty! Loved it!