
This post may contain affiliate links. Read our disclosure policy here.
Keep reading to learn how to pack this amazing sandwich in the lunchbox so it stays crispy for hours.

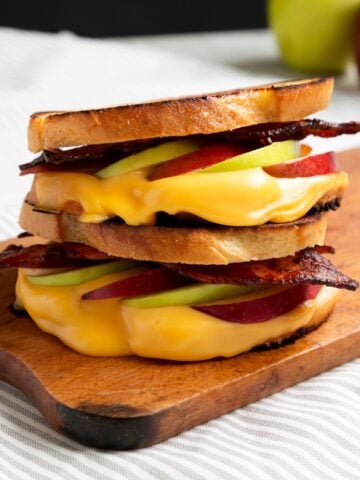
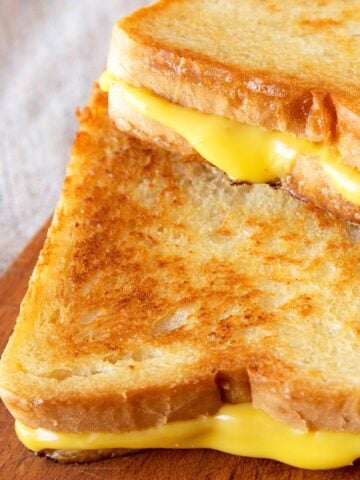
Grilled Cheese Sandwich with Apples
Your kid eats apples. And cheese. And loves grilled cheese. And yet, you’ve never thought about grilling apples and cheddar and packing it for lunch? Oh yeah. This might be epic.
This Apple Grilled Cheese is not your typical sandwich because every bite is better than the next. If you pack it how I’ll explain you below, it will be crispy for lunch –granted not hot- but we all know how delicious a crispy, buttery, piece of bread can be.
This is one of those fun ways to enjoy a sandwich for lunch that’s also a great way to introduce new flavor combinations to kids who might be a little shy to try new things.
What is in Apple Grilled Cheese
Crispy bread paired with that sweet apple and salty cheese? It’s everything a kid’s lunch dreams are made of! This sandwich includes:
- Hearty bread: thick sliced bread or sourdough is best to hold this sandwich.
- Butter: for grilling.
- Cheese: I used Cheddar, but you can add Provolone or Gouda.
- Apple: Granny Smith apple, cored, halved, and thinly sliced.
You’ll find the measurements in the recipe card below.
How to pack Apple Grilled Cheese for lunch
With easy recipes like this Apple Grilled Cheese, packing a real, homemade lunch for school is super simple. You just need to follow these steps:
- Make the sandwich
Place the sliced bread on a flat surface. Butter one side of each slice, flip over. Place a slice of cheese on each unbuttered side. Layer the apple slices onto 2 slices. Assemble the sandwiches, making sure the buttered sides are facing out. - Grill it!
Grease a medium non-stick skillet and heat over medium-high heat. One at a time, grill each sandwich for about 2 to 3 minutes until it’s golden and the cheese has begun to melt on that side. Flip sandwich and grill on the other side for an additional minute or 2 until it’s golden, crispy, and cheese is melted. - Serve or pack it
Serve this Apple Grilled Cheese immediately, or, to pack in a lunchbox, wait for the sandwich to cool to room temperature before packing inside a lunch container.
Do you want to see how to grill a sandwich and pack it inside a lunchbox? Check out this quick video.
See? Not so hard, right? Sometimes, all we need is a little help to come up with new ideas to pack inside a school lunch or meals to make for dinner. And truthfully, coming up with new ideas that have elements the entire family will eat can be a daunting task.
But fear not. I’ve got an entire eBook filled with EPIC lunch ideas everyone will love!
101 Packed Lunches eBook
All my best kid-friendly lunches from over a decade of creating meal plans. Add some variety to your child’s lunchbox with these epic lunches, plus receive my Pack Meals Like a Pro ebook, free with purchase!

More tips for packing sandwiches for lunch like a pro
Although this Apple Grilled Cheese will not be hot by lunchtime, it will remain deliciously crispy if you follow these tips:
Separate dry from wet
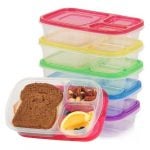
When packing sandwiches for lunch along with fruits, veggies, and your favorite lunch sides, place the sandwich in its own compartment, separated from the wet ingredients, to prevent it from absorbing any moisture.
Allow the sandwich to cool down
Once your grilled cheese is done, allow it to cool down before packing it in the lunchbox. This way, the steam is released, keeping the bread from getting soggy.
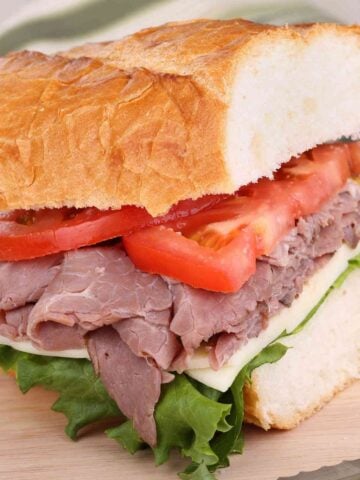
If you want this savory-sweet combo but don’t want to bother grilling, you can try this iconic Turkey Apple Sandwich instead.
Use a firm container
Instead of zip bags, use a sturdy sandwich-size lunch container to protect this and any sandwich inside the lunch bag. Read more about my top picks here!
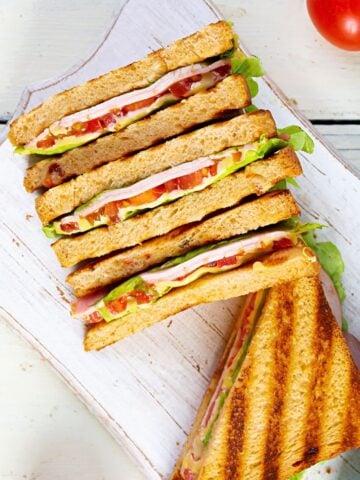
Here’s to yet another epic lunch! And when you’re done with this one, you might just want to try my Taco Grilled Cheese sandwich. It’s another winner that easily packs inside a lunchbox.
Apple Grilled Cheese Sandwich

Ingredients
- 2 slices thick sandwich bread
- ½ tablespoon butter, for grilling
- 2 slices Cheddar cheese
- ½ small Granny Smith apple, cored, halved and thinly sliced
Instructions
Assemble the sandwich:
- Place the sliced bread on a flat surface. Butter one side of each slice, flip over. Place a slice of cheese on each unbuttered side. Layer the apple slices onto one slice. Assemble the sandwich, making sure the buttered sides are facing out.
Grill it:
- Grease a medium non-stick skillet and heat over medium-high heat. Grill the sandwich for about 2 to 3 minutes until it’s golden and the cheese has begun to melt on that side. Flip sandwich and grill on the other side for an additional minute or 2 until it’s golden, crispy, and cheese is melted. Serve immediately.
For a packed lunch:
- Wait for the sandwich to cool to room temperature before packing inside a lunch container. If adding fruit and veggies, place them in a separate compartment.


Leave a Reply