
This post may contain affiliate links. Read our disclosure policy here.
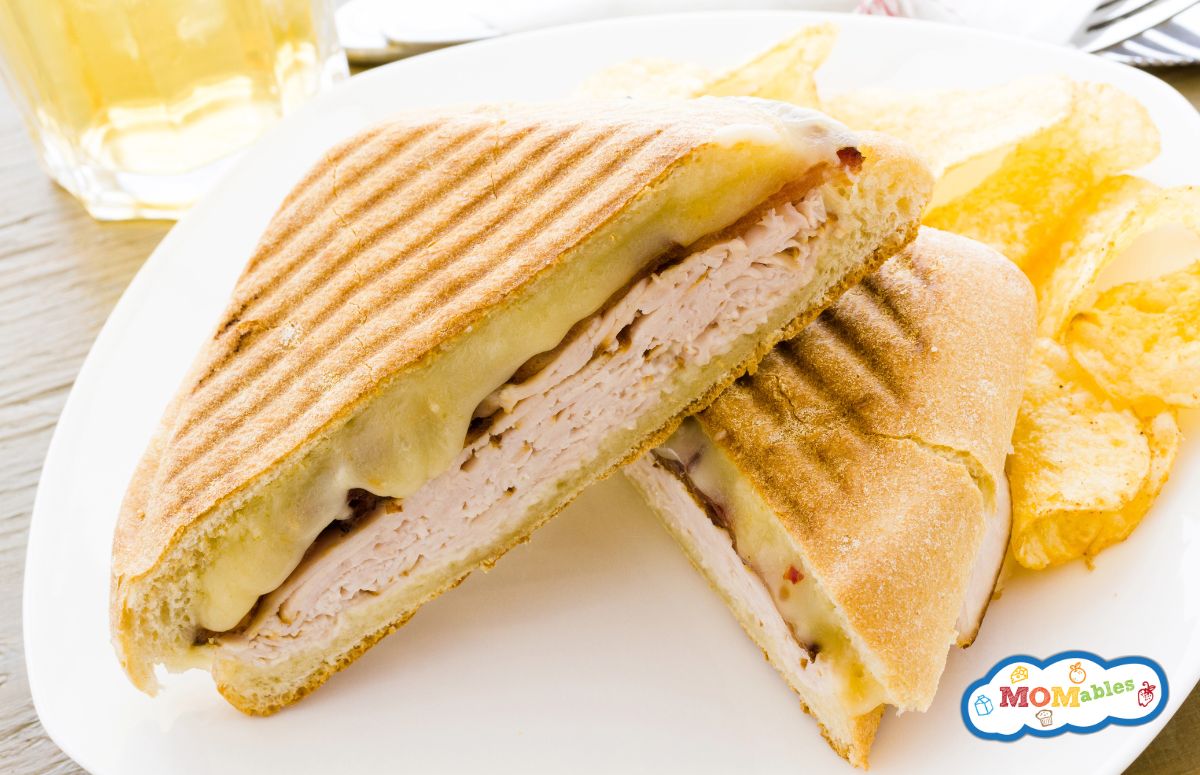
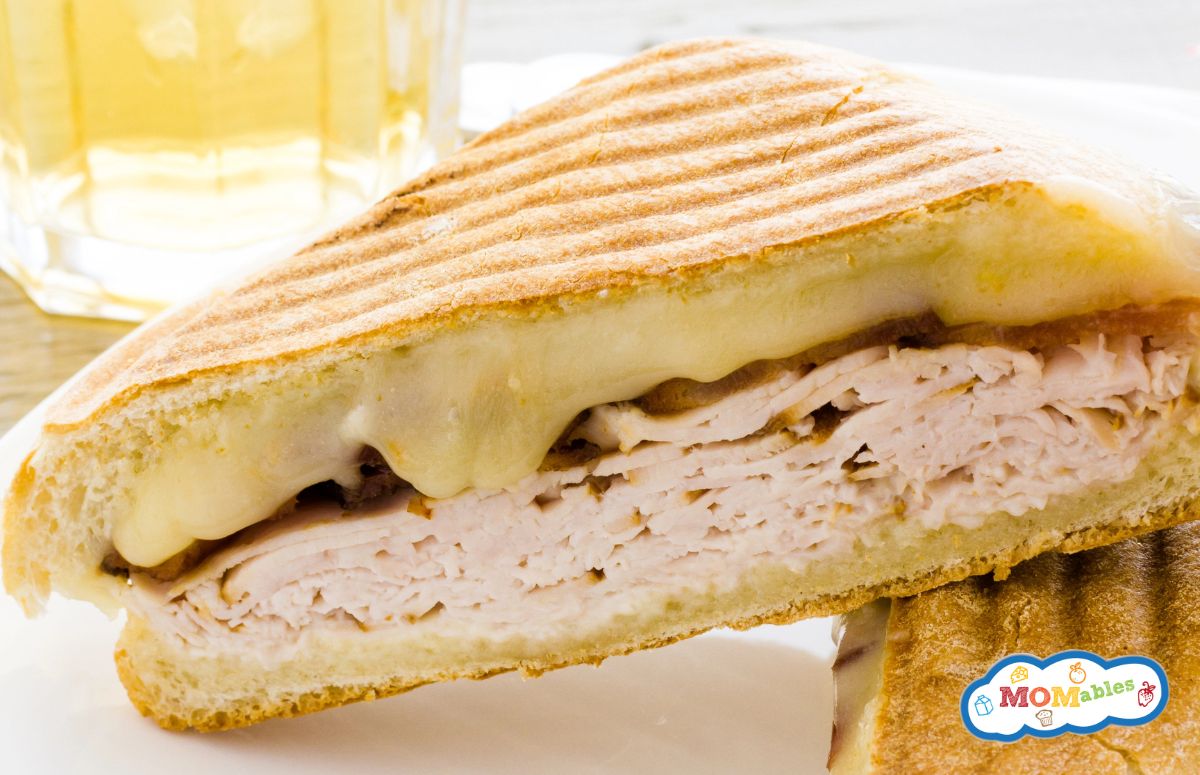
Learn how to make a crispy, melty turkey panini and keep that ultra-satisfying crunch whether you’re devouring it now or saving it for later!
What is a Panini
A panini is basically the fancier cousin of the grilled sandwich. It’s crispy on the outside and melty on the inside, but a true panini is pressed while it toasts. And you don't need a fancy press to make it, either. A skillet and a little pressure work great!
Just like my ham & cheese panini and Caprese grilled cheese, this turkey panini comes together in 5 minutes flat, so I can close my eyes, take a bite, and pretend I’m in Italy instead of doing laundry.
What You Need
You can find the exact measurements on the recipe card below, but here's what you'll need to make this dreamy panini:
- Turkey: use deli turkey or sliced leftover turkey.
- Cheese: a nice melty cheese like mozzarella or provolone are great options!
- Tomato: sliced thin so it doesn’t slide out while the sandwich is being pressed.
- Bread: you want something sturdy for this sandwich (we'll get into it below).
- Butter: for grilling.
Best Bread for Paninis
Go for a bread that holds up under pressure-literally. Ciabatta and sourdough are classic choices, but any rustic loaf with a good crust will work. Avoid super soft sandwich bread unless you want a squished, soggy mess (no thanks!).
How to Make a Turkey Panini
All you have to do to make this panini is a bit of layering and toasting, but the result feels like your enjoying a gourmet sandwich at a sidewalk cafe:
- Layer your ingredients
Start with a slice of cheese, then add the turkey, followed by tomato slices, and top it off with another layer of cheese (because there's no such thing as too much cheese, IMO). This layering helps keep the tomato from making the bread soggy, which is key if you’re packing grilled sandwiches for later. - Press and grill
Brush the outside of the sandwich with a little butter or olive oil. Grill it in a panini press or skillet with a heavy pan on top to press it down. Cook until golden on one side, flip, and repeat. The cheese should be gooey and the outside should be perfectly toasted. - Serve
Let the panini rest a few minutes to let the cheese firm up slightly, then slice, serve and enjoy!
Making it Crispy
The secret to that golden crust is a smear of butter or oil on the outside of the bread and even pressure. If you’re using a skillet or another heavy pan instead of a press, just give it a few extra minutes on each side to get that perfect crunch. I actually use my old George Foreman grill and it works great!
Serving Hot or Cold
Paninis are epic fresh off the skillet, but don't underestimate them at room temp. The melty cheese firms up enough to hold everything together, and the crust stays crispy, especially if you layer the ingredients right.
How to Pack a Turkey Panini for Lunch
If you're packing this for a school lunch, let the panini cool completely before packing it to avoid soggy bread from condensation. Then tuck it into a hard lunch container because we want our panini pressed, not squished. Pair it with crunchy veggies or fruit and include an ice pack to keep them chilled.
Turkey Panini

Ingredients
- 2 slices sandwich bread
- 2 slices cheese
- 1 ounces deli turkey
- 2 slices of tomato
- butter, for grilling
Instructions
Make the sandwich:
- Make the sandwich starting with a layer of cheese, then add the turkey, the tomato in the middle, and then another layer of cheese to create a moisture barrier to prevent the bread from getting soggy.
Press and grill:
- Brush the outside of the sandwich with a little butter or olive oil. Grill it in a panini press or skillet with a heavy pan on top to press it down. Cook until golden on one side, flip, and repeat. Cheese should be gooey and the outside should be crisp.
Serve:
- Let it cool slightly before slicing it in half on a plate or cutting board. Enjoy!

Katie says
Loved this turkey panini sandwich! My first time trying to make one with a grill pan and it turned out perfectly!