
This post may contain affiliate links. Read our disclosure policy here.
Below, you’ll learn how to pack a berry yogurt parfait for a lunch side in minutes and keep it fresh in a lunchbox for hours!
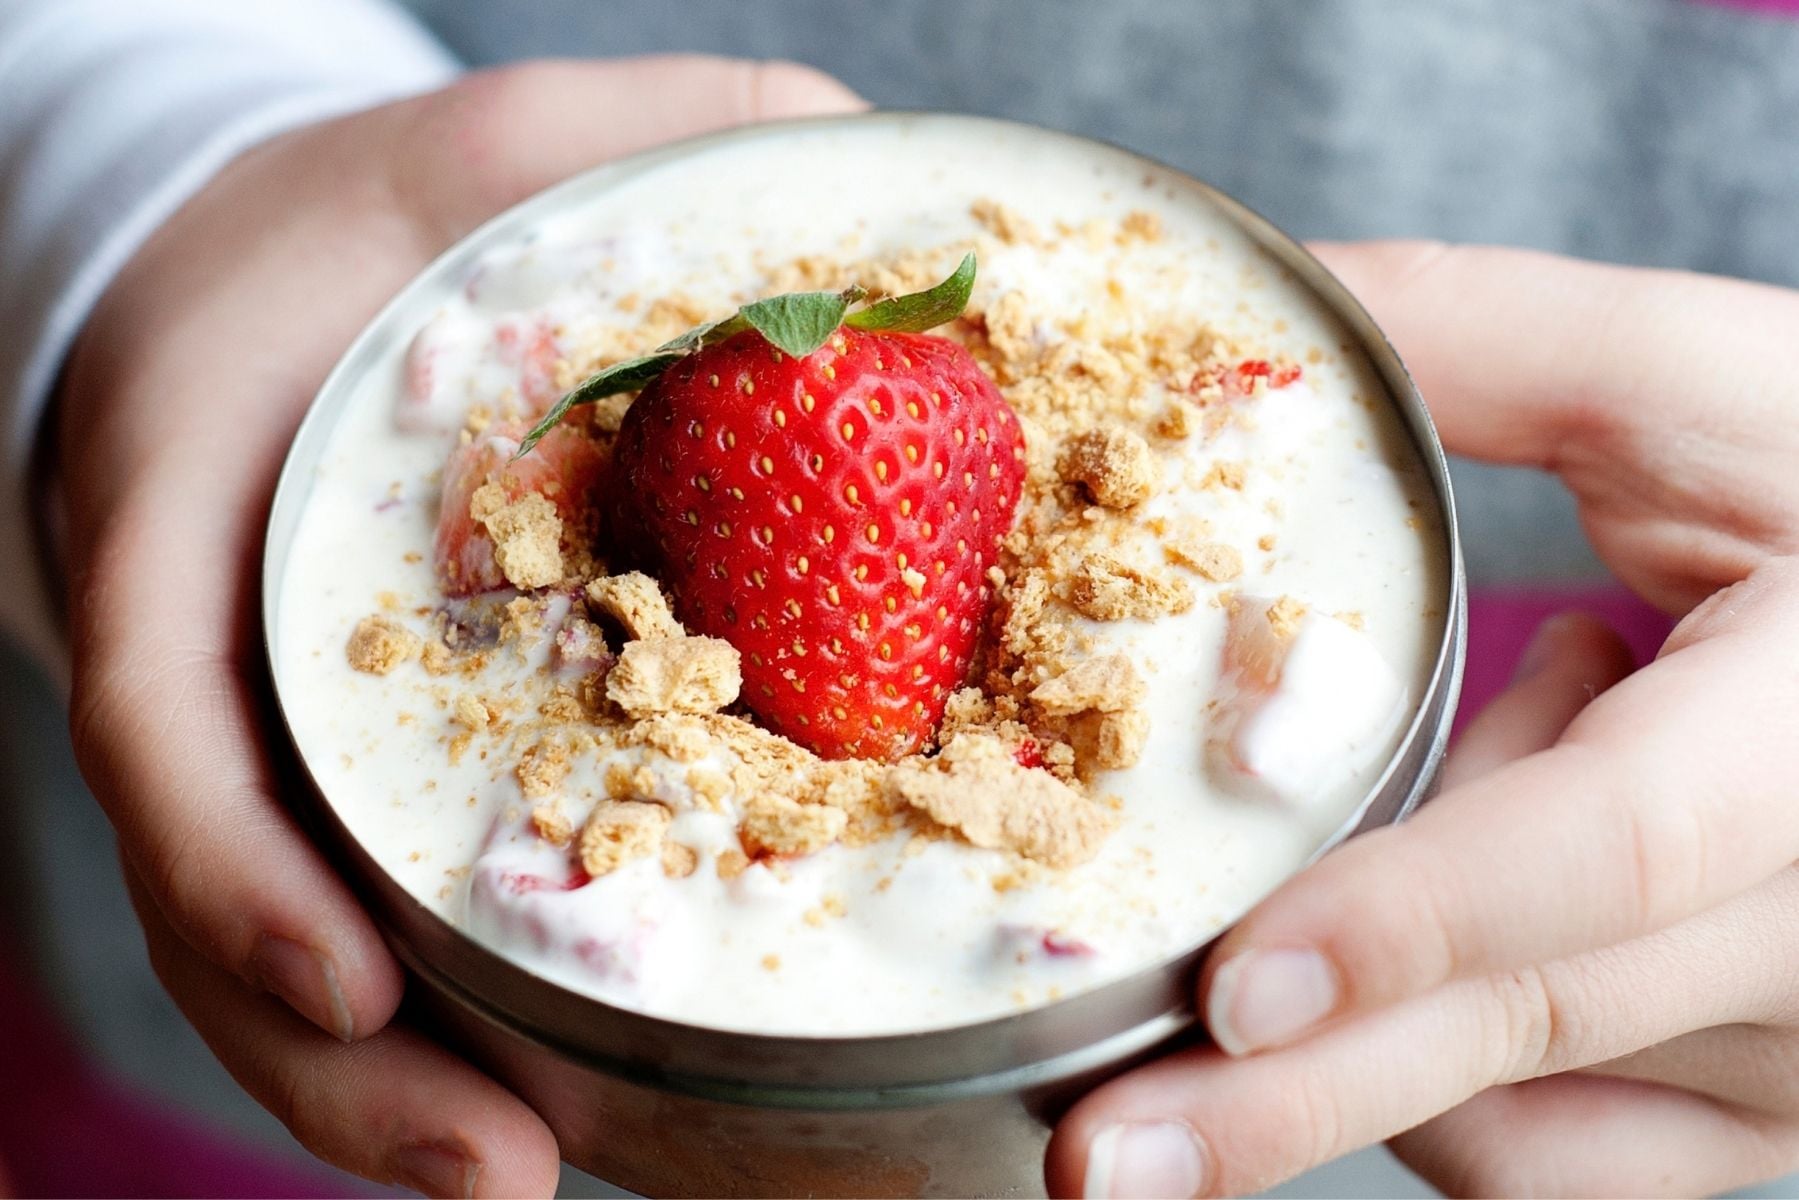
Lunchbox Berry Yogurt Parfait
When I have three hungry kids and only two yogurt cups, I grab some berries (especially the not-so-pretty ones) and get to layering! Crisis averted-a berry yogurt parfait for everyone! So simple it's now a regular side in their school lunches.
Not sure what to pair it with? My teens like the cool, creamy contrast of the yogurt with toasty options like this tuna melt or grilled cheese. And before you go doubting me, here’s the trick to keeping grilled sandwiches crispy until lunch.
Ingredients
The exact measurements for this yogurt parfait are in the recipe card below, but here are the basics of what you’ll need. Feel free to mix it up based on what's in your fridge!:
- strawberries and blueberries: I’m using berries in this recipe for their sweetness and healthy antioxidents, but any favorite fruit will work. Whatever you choose, it should be diced or bite-sized to make it easier to eat.
- yogurt: pick whatever flavor of greek or regular yogurt that your family loves! Our favorite is vanilla so that’s what I’m going with.
- granola (optional): adds a layer of crunch. opt for low sugar if possible since the berries should add enough sweetness.
How to Make a Fruit Parfait for School Lunch
This berry parfait is as easy to make as it is to eat! With the following tips, it’ll stay fresh and ready to impress for hours:
- Layer the Ingredients
Start by adding half the strawberries, followed by a layer of yogurt, and then the blueberries in a small glass jar or thermos. Repeat layers until the container is full. - Add Granola
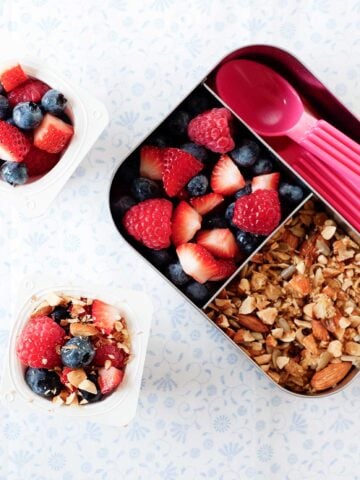
If using granola and you plan to eat this parfait right away, go ahead and add it on top. If packing the parfait for later, keep the granola separate so it stays crunchy until lunchtime. Then kids can sprinkle it on right before they eat. - Pack it for school
Close the lid tightly and place it inside a lunch bag, keeping any other lunch sides separate. Refrigerate everything until it’s time for school.
First time packing yogurt or a parfait for lunch at school? Watch this video to see more tips and tricks!
Packing Tips to Keep Yogurt Parfaits Fresh for Lunch
This parfait’s perfection is all about the chill factor! Keep it just as amazing for lunch as when you make it in the morning with these additional tips:
Use the right container
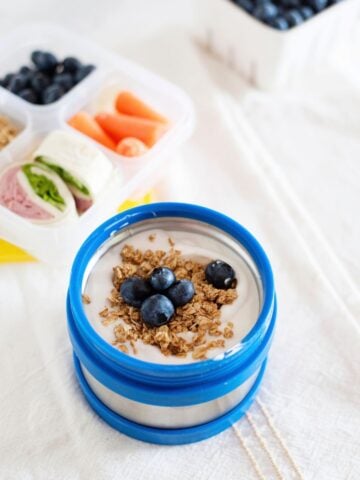
A lunch thermos isn’t just for hot food. It can keep yogurt cold for hours, especially if you pre-chill it in the freezer first.
Prep ahead
You can make everything the night before and just pop the prepared parfait in the fridge overnight. You can make prep even faster by using pre-cut frozen fruit. Bonus: it will keep the yogurt cold even longer!
Keep granola separate
Pack granola in a separate container to prevent it from getting soggy and add it right before eating the berry parfait.
Keep it chilled
Place the parfait in a lunch bag with an ice pack to help regulate the temperature and keep it fresh until lunchtime.
More Healthy School Lunch Sides
Now that your berry parfait is packed, step up your lunch game even more with my teens’ top picks: cheesy cauliflower bites and ham & cheese apple wraps! Round it out with no-bake oatmeal energy balls or fruit leather for a healthy and sweet treat!
Fruit and Yogurt Lunchbox Parfait

Watch How It’s Made:
Ingredients
- 2 tablespoons granola
- 1 ½ cups yogurt, or dairy-free yogurt
- ½ cup diced strawberries or blueberries
Instructions
- Pack the granola into 2 lidded sauce containers.
- Divide half the yogurt between 2 chilled thermos containers. Top with berries and remaining yogurt. Top with lid and seal, pack into lunch bags along with the granola.






ringtonesdump.com says
These yogurt parfaits are perfect for breakfast or an after school snack. They are packed with protein, grains and fruit which provide lasting feel good energy. Kids can assemble their own parfaits, choosing their favorite berries. This is the easiest recipe with no cooking required.