
This post may contain affiliate links. Read our disclosure policy here.
Keep reading to learn all the tips for packing this incredible sandwich in the lunchbox so it stays crunchy for hours.
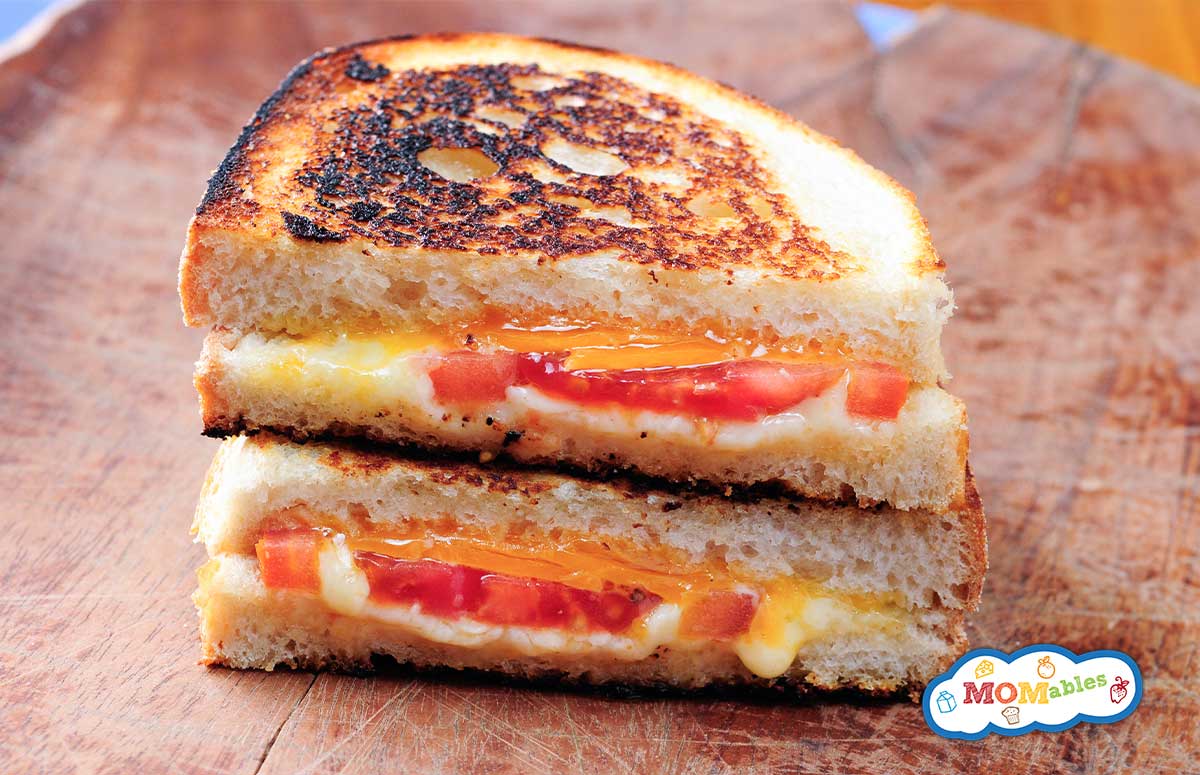
Grilled Cheese and Tomato Sandwich
It’s official: a healthy homemade lunch can also be one that kids (and adults) devour. Pack this Grilled Cheese and Tomato Sandwich for school and the only thing that will come back home will be a few crumbs at the bottom of the lunchbox.
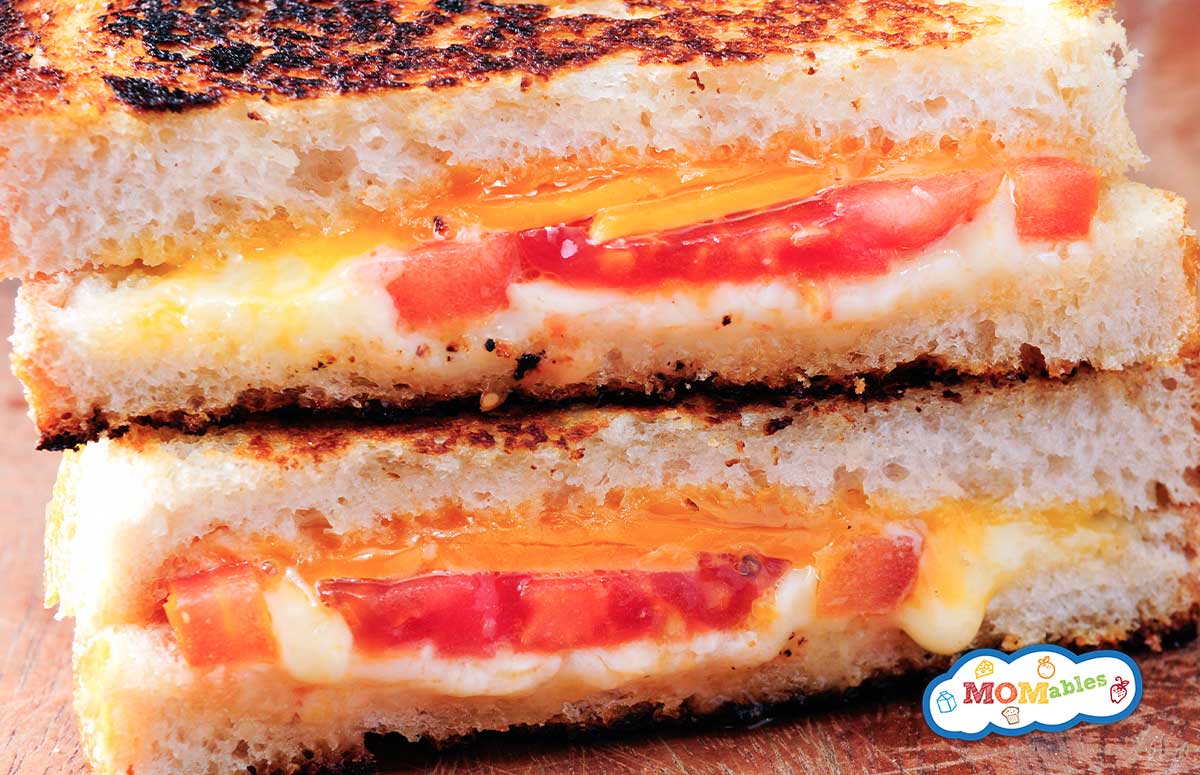
This simple grilled cheese is super delicious, easy to assemble, and a kid-favorite. Well, if you want to make one for yourself, I’m not going to stop you. I mean, melted cheese, fresh tomatoes, crispy bread… what not to love about it?
What you need
With four everyday ingredients, you can assemble a filling and nutritious sandwich that kids will devour. You’ll find the measurements in the recipe card below, but first, check what you need:
- Thick sandwich bread: Italian or rustic bread are a great options. But we’ve also been enjoying sourdough grilled cheese lately.
- Butter: for grilling.
- Cheese: Cheddar, Provolone, Gouda, Swiss; use your favorite.
- Tomato: use any red ripe tomato you find around.
How to Make Grilled Cheese and Tomato
By grilling the bread, any sandwich lunch goes from great to drool-worthy! The best part? It just takes a few minutes to make this delicious Grilled Cheese and Tomato:
- Spread butter
First, you spread butter on one side of each slice of bread. - Add the filling
Flip the bread slices and add cheese and tomato. - Close it
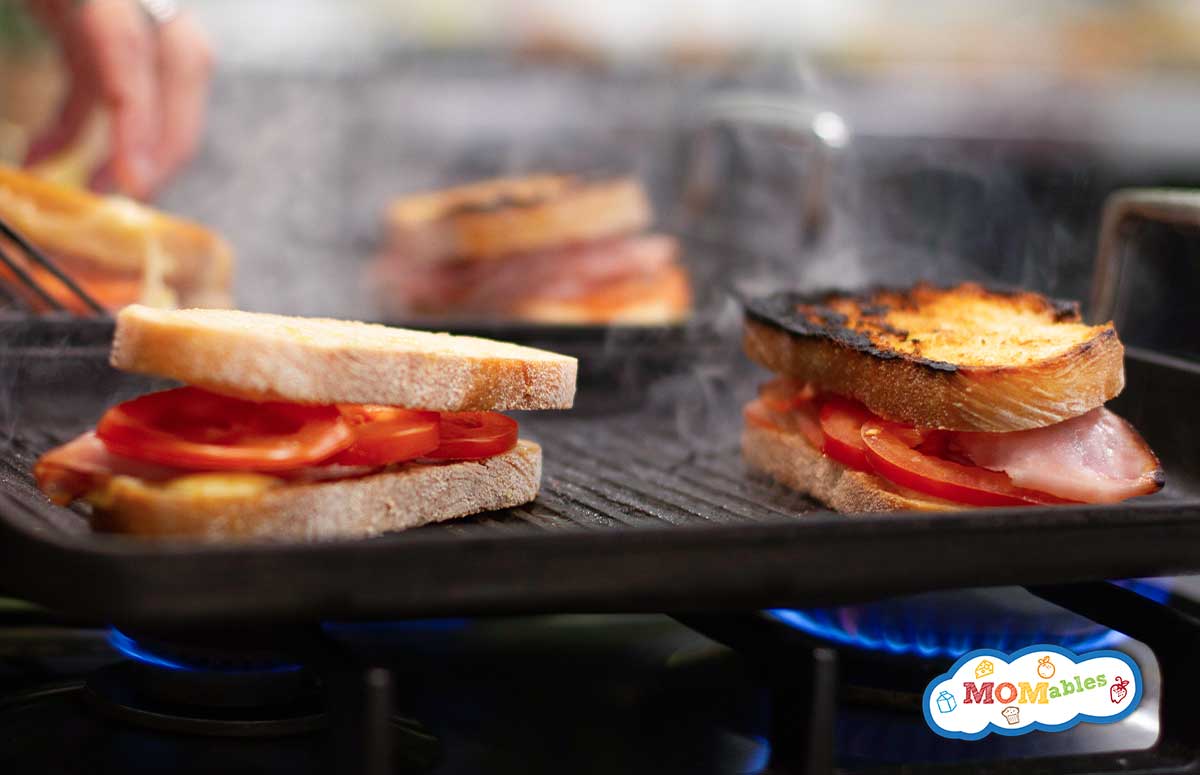
When you close the sandwich, make sure the buttered sides are facing out, so you can grill it. - Prep the skillet
To grill the sandwich, you’ll use a non-stick skillet greased with butter at medium-high heat. - Grill
Grilling one side of the sandwich. You’ll know it’s ready to flip when the bread is golden and the cheese begins to melt. Grill for 1 or 2 extra minutes on the other side. Is the cheese melted? Then it’s ready to enjoy! - Pack it for lunch
If you’re not going to eat this sandwich immediately, allow it to cool down to room temperature to keep the bread from getting soggy. Then, pack it in the lunchbox with your favorite lunch sides (in separate compartments).
If you don’t want to use the stove, you can use the air fryer to make an epic grilled cheese sandwich instead.
Make next: Jalapeño Grilled Cheese
Tips for packing grilled sandwiches like a pro
Keep this Grilled Cheese and Tomato Sandwich crispy until lunchtime by following these packing tips:
Allow it to cool down
The whole point of grilling sandwiches is that delicious crispiness, isn’t it? So once the sandwich is done, allow it to cool down to room temperature before placing it in the lunchbox. Otherwise, the steam will make the bread soggy.
Separate wet from dry
If you’re packing a grilled sandwich with fruit, veggies, or snacks, place them in a separate lunchbox compartment to keep the bread from absorb any moisture.
Use a sturdy container
Even the most appealing sandwich loses its charm when it moves around the lunch bag and is flattened by other stuff. What to do? Pack it in a sturdy, sandwich-size container or compartment. Sandwich zip-bags? You better use them for something else. Here are my top 5 school lunch containers.
Add nutrition
Pack this incredible Grilled Cheese and Tomato with carrots, berries, grapes, olives, crackers, cheese straws, or a healthy dessert for the most complete and tasty lunch.
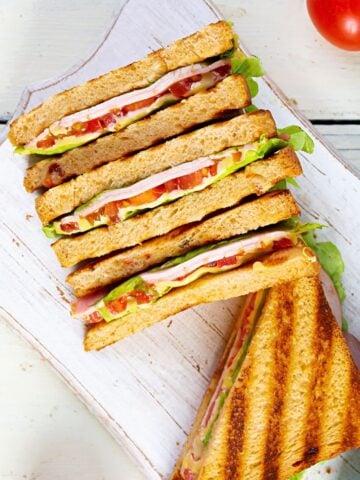
More easy grilled sandwiches for school lunch
I can’t get enough of grilled sandwiches! They make a terrific lunch for both kids and adults, so cheese and tomato is only one of the most delicious combos. Here are some family favorites:
- Grilled Peanut Butter and Jelly Sandwich
- Taco Grilled Cheese Sandwich
- Grilled Tuna Melt Sandwich
- Cheesy Grilled Chicken Pesto Sandwich
- Philly Cheesesteak Grilled Cheese
Grilled Cheese and Tomato Sandwich

Ingredients
- 4 slices thick sandwich bread
- 1 tablespoon butter, for grilling
- 4 slices Cheddar cheese
- ½ tomato, sliced
Instructions
Make the sandwich:
- Place the sliced bread on a flat surface. Butter one side of each slice, flip over. Place a slice of cheese on each unbuttered side. Layer the tomato slices onto 2 slices. Assemble the sandwiches, making sure the buttered sides are facing out.
Grill:
- Grease a medium non-stick skillet and heat over medium-high heat. One at a time, grill each sandwich for about 2 to 3 minutes until it’s golden and the cheese has begun to melt on that side. Flip sandwich and grill on the other side for an additional minute or 2 until it’s golden, crispy, and cheese is melted.
Serve or pack:
- Serve immediately, or, to pack in a lunchbox, wait for the sandwich to cool to room temperature before packing inside a lunch container.
- If packing for lunch, add the veggies and additional snacks to the container, but place them in separate compartments to keep the sandwich bread dry.


Leave a Reply